Design Details
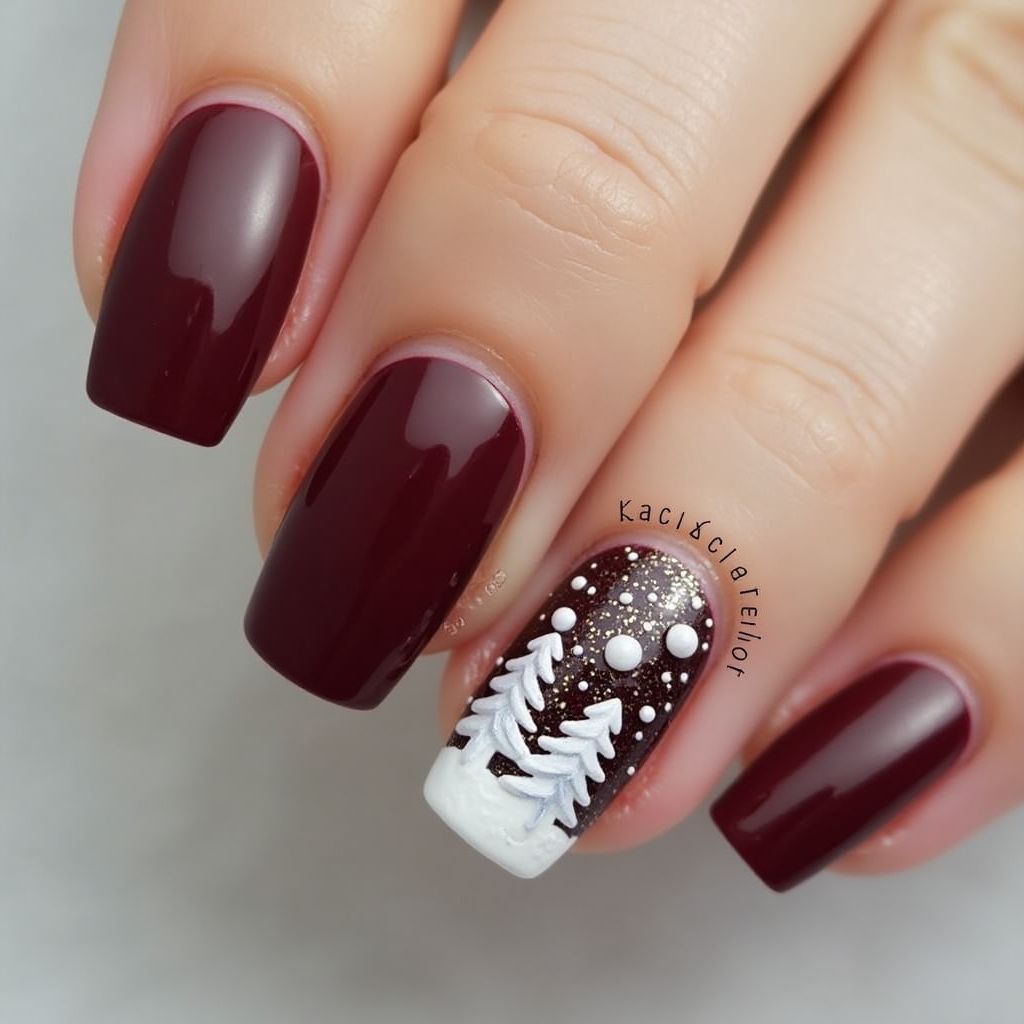
- 1The nail design features a rich burgundy base, providing a striking backdrop for a winter-themed accent nail.
- 2The accent nail showcases white Christmas trees and snowflakes against a dark background, creating a festive aesthetic.
- 3Overall, the design blends a classic color scheme with playful winter motifs, making it suitable for holiday celebrations.
Items Needed for this Design
Nail Preparation
- Nail buffer
- Nail file
- Cuticle oil
- base coat
- top coat
Nail Polish Colors
- Burgundy polish
- White polish
- Dark brown polish
- Gold glitter polish
Nail Art Tools
- Detailing brush
- Dotting tool
- Nail tape (optional)
Cleanup
- Nail polish remover
- Cotton pads or swabs
Step by Step DIY(Do It Yourself) Guide
1
Prepare your nails
- Buff and shape your nails with a nail file.
- Apply cuticle oil and push back cuticles for a clean look.
- Apply a base coat to protect your nails.
2
Apply the base color
- Paint all nails except the accent nail with burgundy polish.
- Allow the polish to dry completely before proceeding.
3
Create the accent design
- On the accent nail, apply dark brown polish and let it dry.
- Use a detailing brush to paint white Christmas trees on the brown design.
- Add gold glitter polish to create a snowy effect around the trees.
4
Add final touches
- Use a dotting tool to create white snowflakes and dots across the accent nail.
- Once all elements are dry, apply a top coat to seal the design and add shine.
5
Clean up
- Use nail polish remover and cotton pads to clean any excess polish around the nails.
- Wash hands thoroughly to remove any residue.
Pro Tips
Ensure each layer of polish is completely dry before applying the next to prevent smudging.
Use thin layers of polish for a more professional and refined look.
Practice your nail art designs on a practice wheel before attempting on your nails.
Keep your tools clean for the best results and to ensure nail health.