Design Details
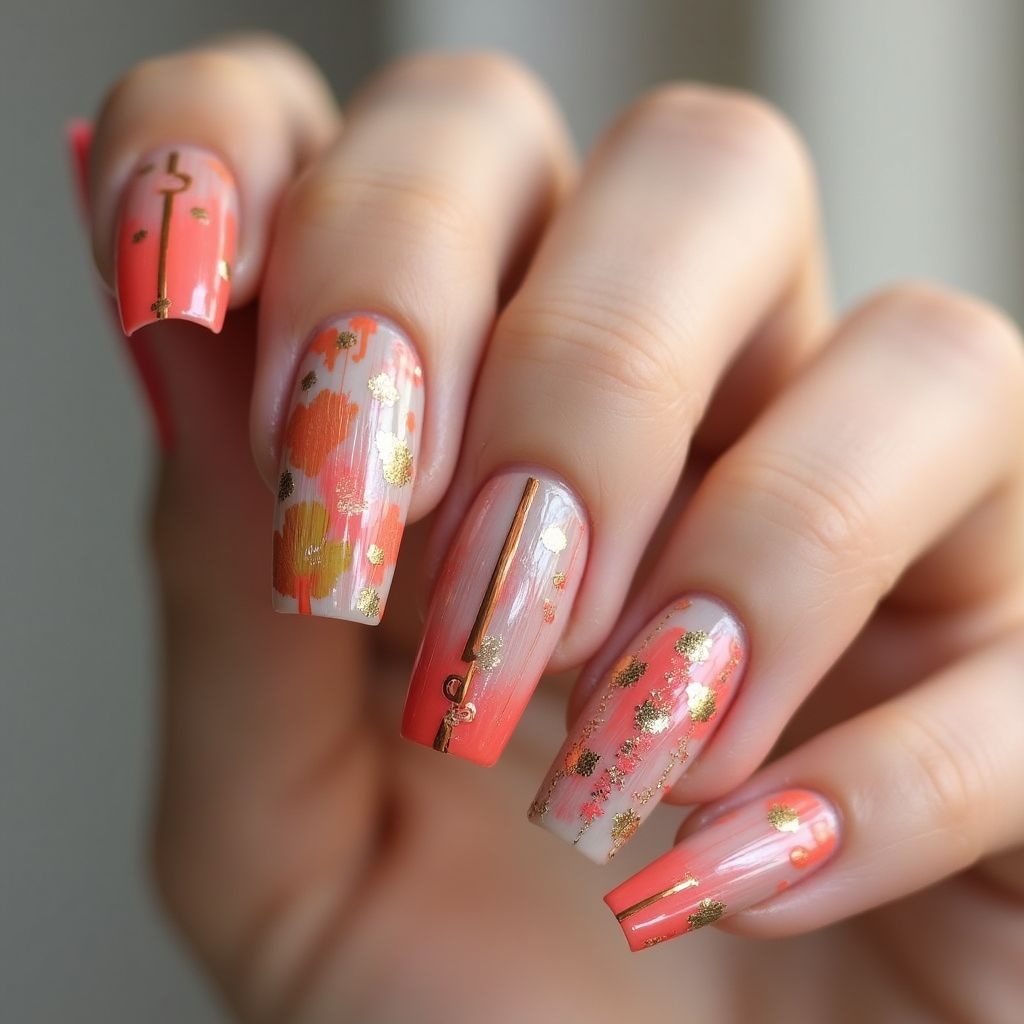
- 1This nail design features a beautiful blend of coral and peach hues accentuated by gold foil embellishments.
- 2The design incorporates floral patterns and vertical gold stripes, creating an elegant and trendy look.
- 3The use of a subtle ombre effect adds depth and dimension to the overall appearance.
Items Needed for this Design
Nail Preparation
- Nail file
- Cuticle remover
- Base coat
- Top coat
Nail Polish Colors
- Coral nail polish
- Peach nail polish
- Clear nail polish for the ombre effect
- Gold nail foil
Nail Art Tools
- Detailing brush
- Dotting tool
- Nail art tape
Cleanup
- Acetone or nail polish remover
- Cotton pads
Step by Step DIY(Do It Yourself) Guide
1
Prepare your nails.
- Remove old nail polish and clean nails.
- File and shape your nails to your desired length.
- Apply cuticle remover and push back cuticles carefully.
2
Apply base coat.
- Use a base coat to protect your natural nails.
- Allow the base coat to dry completely.
3
Create the ombre effect.
- Apply a layer of clear nail polish and let it dry slightly.
- Using a sponge, apply coral and peach polish in a gradient on the tip of the nail.
- Dab the sponge on the nail to blend the colors and achieve the ombre effect.
4
Add floral patterns and stripes.
- Once the ombre is dry, use a detailing brush to paint floral designs with the peach polish.
- Use a dotting tool to add gold foil embellishments to the flowers.
- Apply nail art tape vertically on nails, leaving spaces for gold stripes and paint them with gold polish.
5
Finish with top coat.
- Once all designs are dry, apply a top coat to seal the design.
- Allow to dry completely and clean up any excess polish around the nails.
Pro Tips
Choose high-quality nail polishes for better adhesion and color payoff.
Work in thin layers to avoid smudging and to speed up drying time.
Practice your floral designs on a nail wheel before applying them to your nails.
Allow each layer to dry fully before proceeding to the next step.