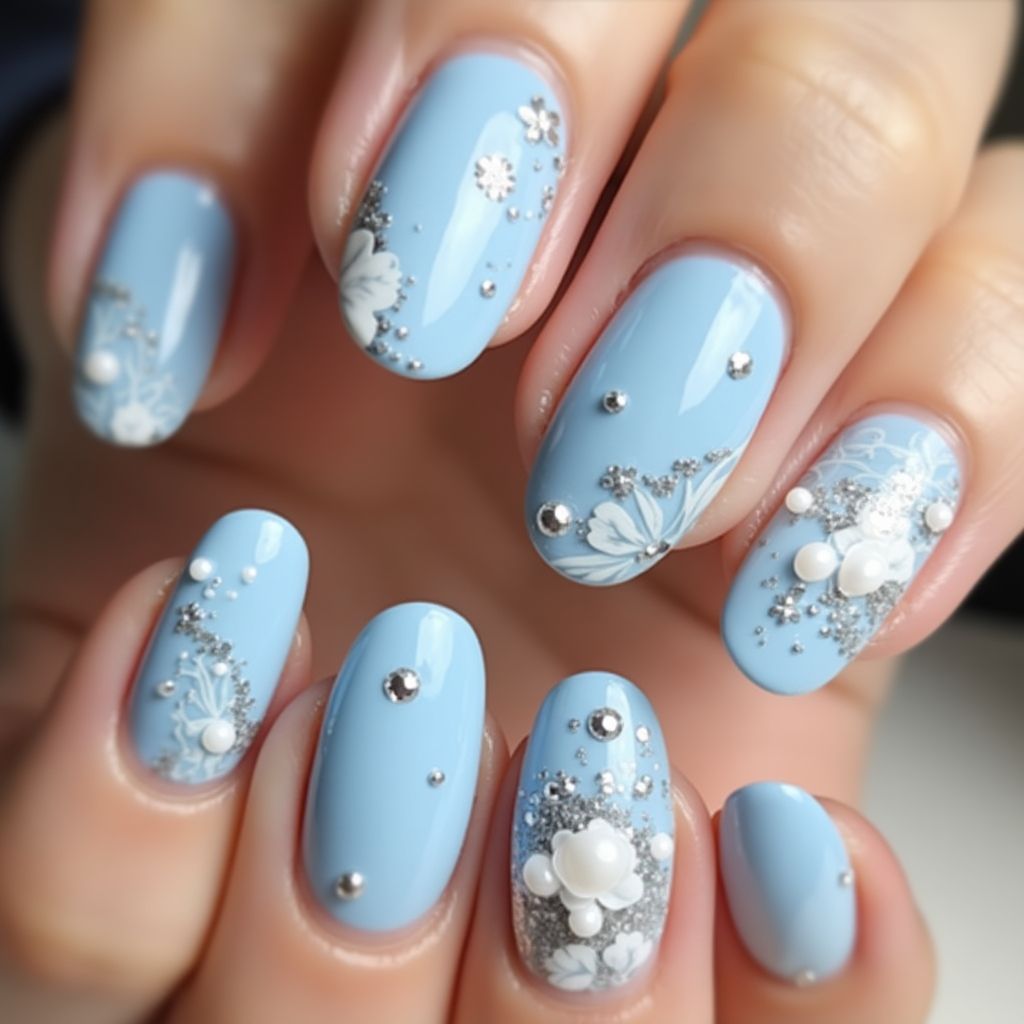
Design Details
- 1This nail design features a soft blue base color, creating a serene and elegant背景.
- 2Delicate white floral patterns are strategically placed to add a touch of femininity.
- 3Silver embellishments and pearls are used to enhance the overall glamorous appearance.
- 4The design showcases a blend of textures and finishes, resulting in a cohesive and stylish look.
Items Needed for this Design
Nail Preparation
- Nail file
- Nail buffer
- Base coat
- Top coat
Nail Polish Colors
- Light blue nail polish
- White nail polish
- Silver glitter polish
Nail Art Tools
- Dotting tool
- Nail art brush
- Nail glue
- Tweezers for embellishments
Cleanup
- Cotton pads
- Nail polish remover
Step by Step DIY(Do It Yourself) Guide
1
Prep your nails for the design.
- File and shape your nails to your desired style.
- Buff the surface to create a smooth canvas.
- Apply a base coat to protect your natural nails.
2
Apply the base color.
- Choose light blue nail polish and apply a thin layer.
- Allow it to dry completely before applying a second coat.
- Make sure the color is even and fully opaque.
3
Create floral designs.
- Use a nail art brush to paint small white flowers on select nails.
- Add details using a dotting tool for the flower centers.
- Let the design dry before proceeding.
4
Add embellishments.
- Apply small dots of nail glue where you want to place pearls and silver accents.
- Carefully pick up each embellishment with tweezers and set them in place.
- Ensure they are securely attached and adjust as needed.
5
Seal the design.
- Once everything is dry, apply a top coat to secure the design.
- Be gentle to avoid disturbing the embellishments.
- Allow the top coat to dry thoroughly.
Pro Tips
Work in a well-lit area to ensure precision in your designs.
Take your time with each step to avoid mistakes.
If you're new to nail art, practice on a nail wheel before applying to your fingers.
Consider using a quick-dry top coat to speed up the process.