Design Details
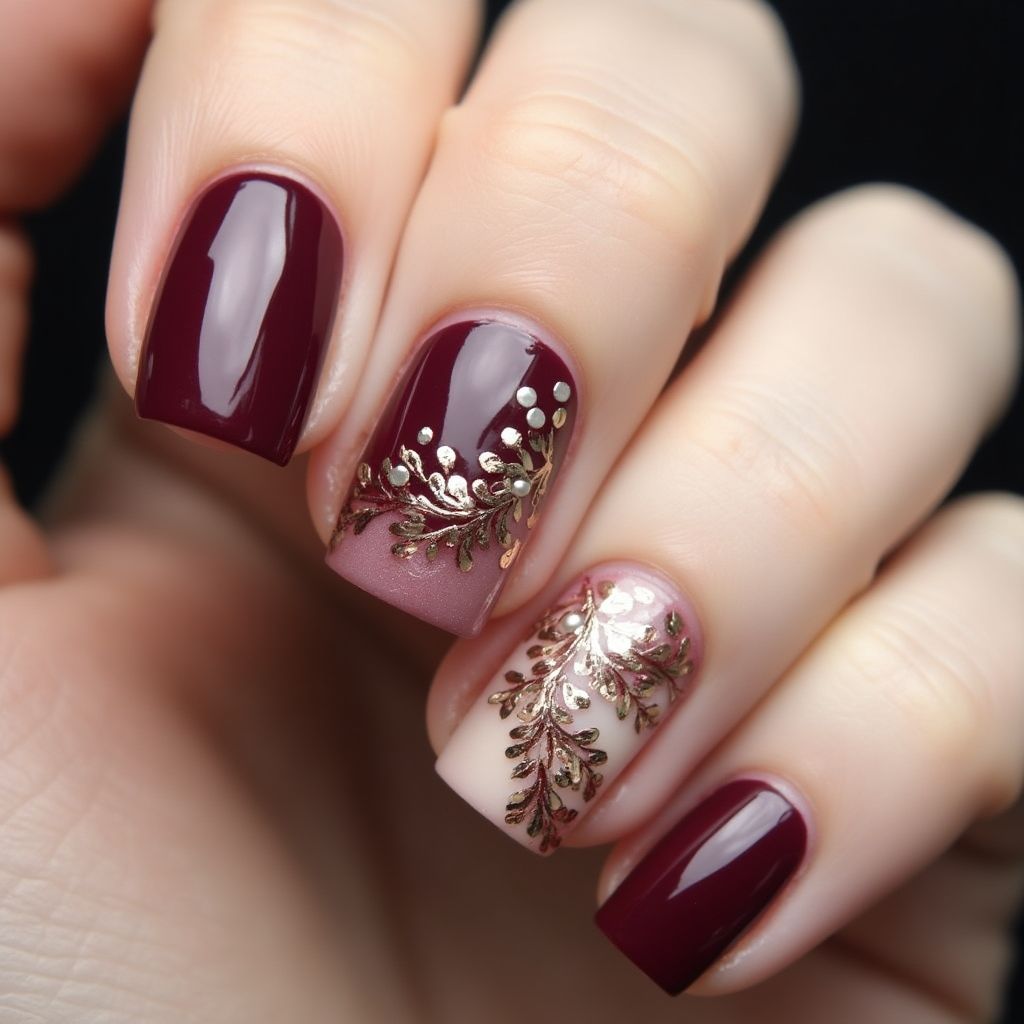
- 1This nail design features a rich burgundy base complemented by delicate gold embellishments.
- 2One nail showcases a gradient transition with a subtle blush pink, adorned with intricate gold leaf patterns.
- 3The design incorporates small silver dots to add a touch of contrast and elegance.
- 4Overall, the combination of colors and metallic accents creates a sophisticated and glamorous look.
Items Needed for this Design
Nail Preparation
- Nail file
- Base coat
- Top coat
- Cuticle oil
Nail Polish Colors
- Burgundy nail polish
- Blush pink nail polish
- Nude nail polish
- Gold nail polish
Nail Art Tools
- Nail art brush
- Dotting tool
- Striping tape
Cleanup
- Nail polish remover
- Cotton pads
Step by Step DIY(Do It Yourself) Guide
1
Prepare your nails
- File your nails to your desired shape.
- Apply a base coat to protect your natural nails.
2
Apply the base colors
- Apply two coats of burgundy polish to the thumb, index, and middle fingers.
- Apply blush pink polish to the ring finger and nude polish to the pinky finger.
3
Create the gold embellishments
- Using a small nail art brush, paint delicate gold leaf patterns on the ring finger.
- Add small silver dots using a dotting tool on the burgundy nails.
4
Finishing touches
- Apply a top coat to seal the design and add shine.
- Clean up around the cuticles with nail polish remover on a cotton pad.
Pro Tips
Ensure each layer of polish is completely dry before applying the next.
Use a steady hand for more intricate designs or consider using nail stencils.
Keep your tools clean to achieve precise lines and patterns.
If you're a beginner, practice on a nail wheel before trying it on your actual nails.