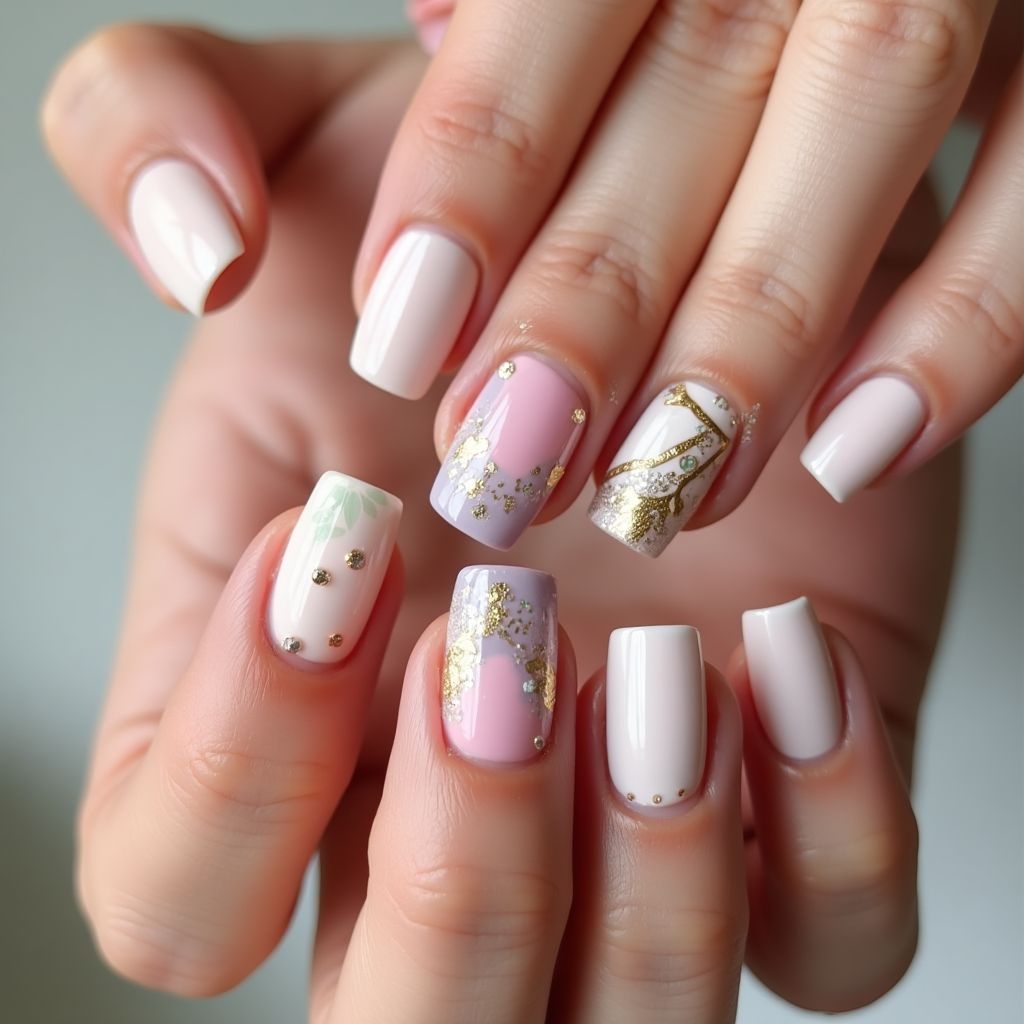
Design Details
- 1The nails feature a base of soft pink and white tones with intricate gold accents.
- 2Each nail has a unique design, incorporating elements like abstract gold patterns and small metallic studs.
- 3Light pastel shades, such as lavender and mint, add subtle contrast to the sophisticated gold leaf details.
- 4The overall look is elegant and suitable for both casual and formal occasions.
Items Needed for this Design
Nail Preparation
- Nail file
- Nail buffer
- Cuticle pusher
- Base coat
- Top coat
Nail Polish Colors
- Soft pink polish
- White polish
- Lavender polish
- Mint polish
- Gold metallic polish
Nail Art Tools
- Thin nail art brush
- Dotting tool
- Gold leaf flakes
- Small metallic studs
- Nail glue
Cleanup
- Nail polish remover
- Cotton swabs
Step by Step DIY(Do It Yourself) Guide
1
Prepare your nails.
- File and shape your nails to your desired length.
- Gently push back cuticles and buff the nail surface.
- Apply a base coat and allow it to dry completely.
2
Apply the base colors.
- Paint half of your nails with soft pink polish and the other half with white polish.
- Allow the polish to dry completely before proceeding.
3
Create accent designs.
- Use a thin brush to paint abstract patterns with gold metallic polish on select nails.
- Add lavender and mint accents in small areas on a few nails.
- Apply gold leaf flakes using a dotting tool for a textured look.
4
Add embellishments.
- Use nail glue to attach small metallic studs on some nails for added detail.
- Ensure studs are pressed firmly to secure them in place.
5
Finish with a top coat.
- Once all nail art is dry, apply a clear top coat to seal the design.
- Allow the top coat to dry thoroughly for a long-lasting finish.
Pro Tips
Ensure each layer of polish is completely dry before adding the next to prevent smudging.
Use tweezers for precise placement of gold leaf and studs.
Apply a second layer of top coat on studs for extra security.
Clean up any polish on the skin with a cotton swab dipped in remover.