Design Details
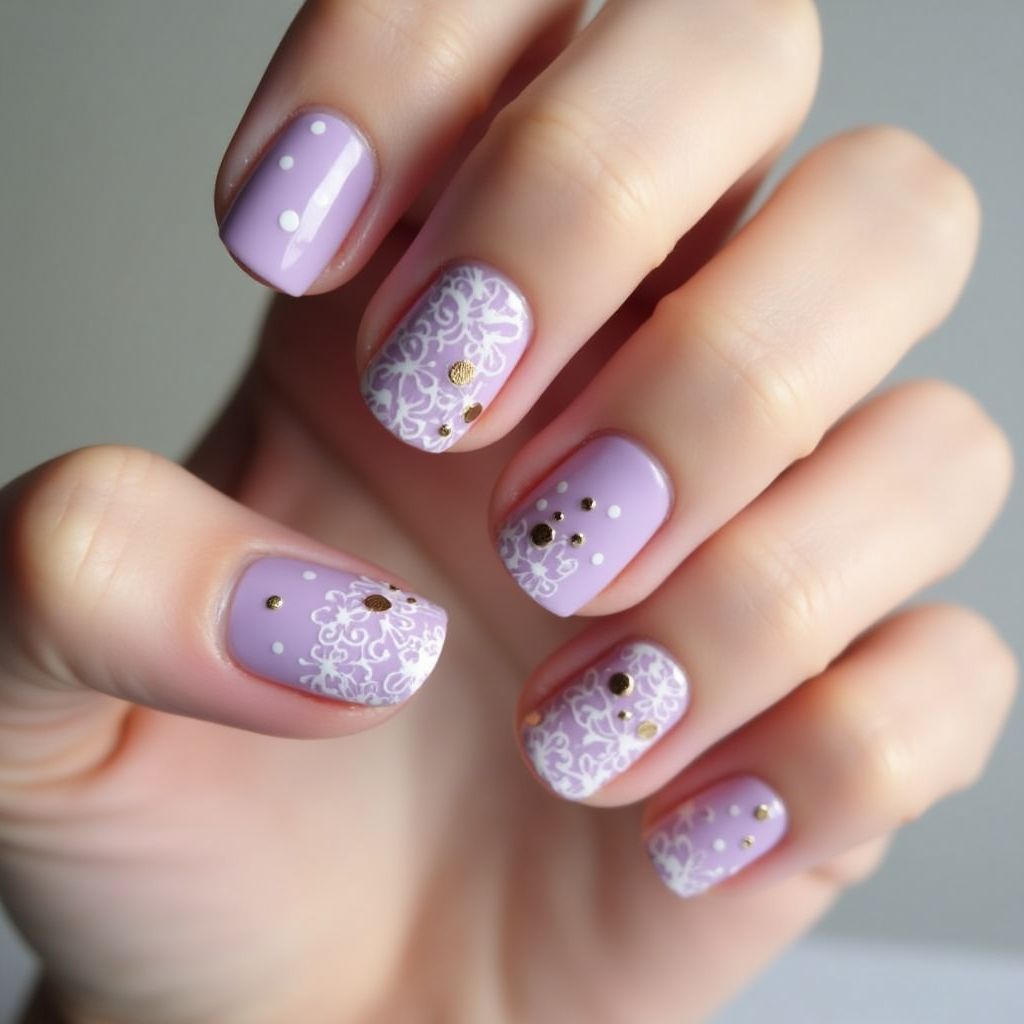
- 1This nail design features a soft lavender base color on most nails, creating a calming and elegant look.
- 2The design incorporates intricate white lace patterns on select nails, enhancing the overall sophistication.
- 3Gold embellishments such as dots and small round accents add a touch of luxury and contrast against the lavender and white.
- 4The combination of dots and floral designs provides a playful yet refined aesthetic, suitable for various occasions.
Items Needed for this Design
Nail Preparation
- Nail file
- Base coat
- Top coat
- Cuticle oil
Nail Polish Colors
- Lavender nail polish
- White nail polish
- Gold nail polish or gold dots
Nail Art Tools
- Nail art brush or detailing brush
- Dotting tool
- Stamper for lace design (optional)
Cleanup
- Nail polish remover
- Cotton pads or swabs
Step by Step DIY(Do It Yourself) Guide
1
Prepare the nails
- File the nails to your desired shape.
- Apply a base coat to protect the nails.
2
Apply the base color
- Apply two coats of lavender nail polish, allowing each coat to dry completely.
- Add a top coat to seal the base color.
3
Create the lace design
- Using a nail art brush or stamper, apply white nail polish in lace designs on selected nails.
- Repeat as necessary to achieve the desired coverage.
4
Add embellishments
- Using a dotting tool, place gold dots on the nails in a scattered pattern.
- Make sure the gold accents are slightly varied in size for an artistic effect.
5
Finish the design
- Apply a top coat over the entire design to protect it.
- Use cuticle oil to nourish the cuticles.
Pro Tips
Patience is key; allow each layer of polish to dry fully before moving to the next step.
Practice the lace design on a piece of paper before attempting on your nails.
Use a clean-up brush dipped in nail polish remover to correct any mistakes.
Experiment with different base colors for a unique twist on the design.