Design Details
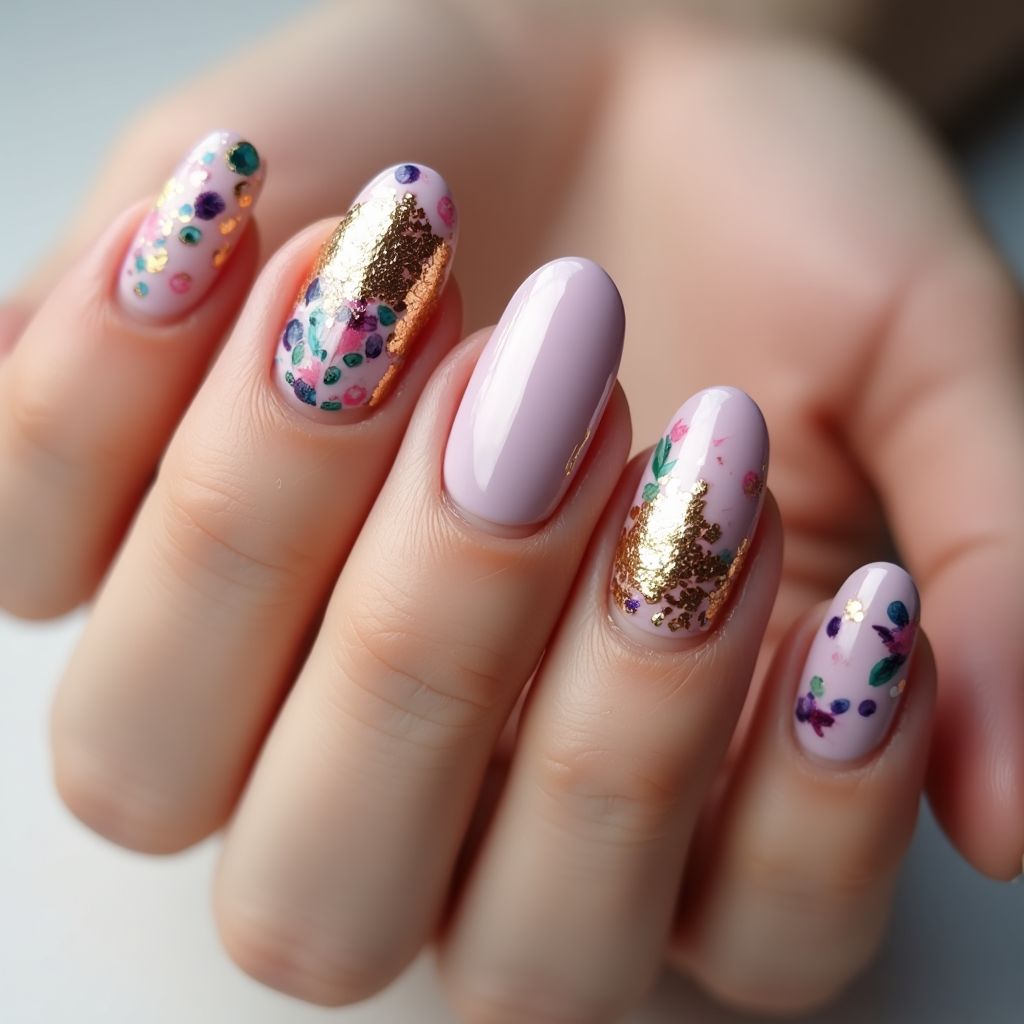
- 1The design features a soft lavender base complemented by colorful floral accents and gold foil detailing.
- 2Some nails have delicate hand-painted flowers and colorful dots for added texture and visual interest.
- 3The gold foil adds a touch of glamour, contrasting beautifully with the pastel colors.
Items Needed for this Design
Nail Preparation
- Nail buffer
- Cuticle remover
- Top coat
- Base coat
Nail Polish Colors
- Lavender polish
- Gold foil
- Various colors for floral designs (pink, green, blue)
Nail Art Tools
- Dotting tools
- Detail brush
- Tweezers (for applying gold foil)
- Palette or mixing tray
Cleanup
- Nail polish remover
- Cotton pads or balls
- Clean-up brush
Step by Step DIY(Do It Yourself) Guide
1
Prepare your nails.
- Buff the surface of your nails to smooth any ridges.
- Apply cuticle remover and gently push back cuticles.
- Clean the nails with a gentle polish remover.
2
Apply a base coat.
- Choose a neutral base for the design if desired.
- Apply a layer of base coat to all nails and let it dry.
3
Apply lavender polish.
- Paint two coats of lavender polish on all nails, allowing each coat to dry.
4
Create floral designs.
- Using a detail brush and various colors, paint small flowers and dots on specific nails.
- Allow the floral design to dry before moving to the next step.
5
Apply gold foil.
- Use tweezers to place pieces of gold foil on designated nails.
- Press gently to adhere the foil to the polish.
6
Finish with a top coat.
- Once everything is dry, apply a layer of top coat to seal the design.
- Let the top coat dry completely before using your hands.
Pro Tips
Ensure each layer is dry before applying the next to avoid smudging.
Use a clean brush for each color to maintain clarity in your floral designs.
If you're new to nail art, practice your designs on a plastic sheet first.
For easy foil application, use a bit of clear polish as a base before applying the foil.