Design Details
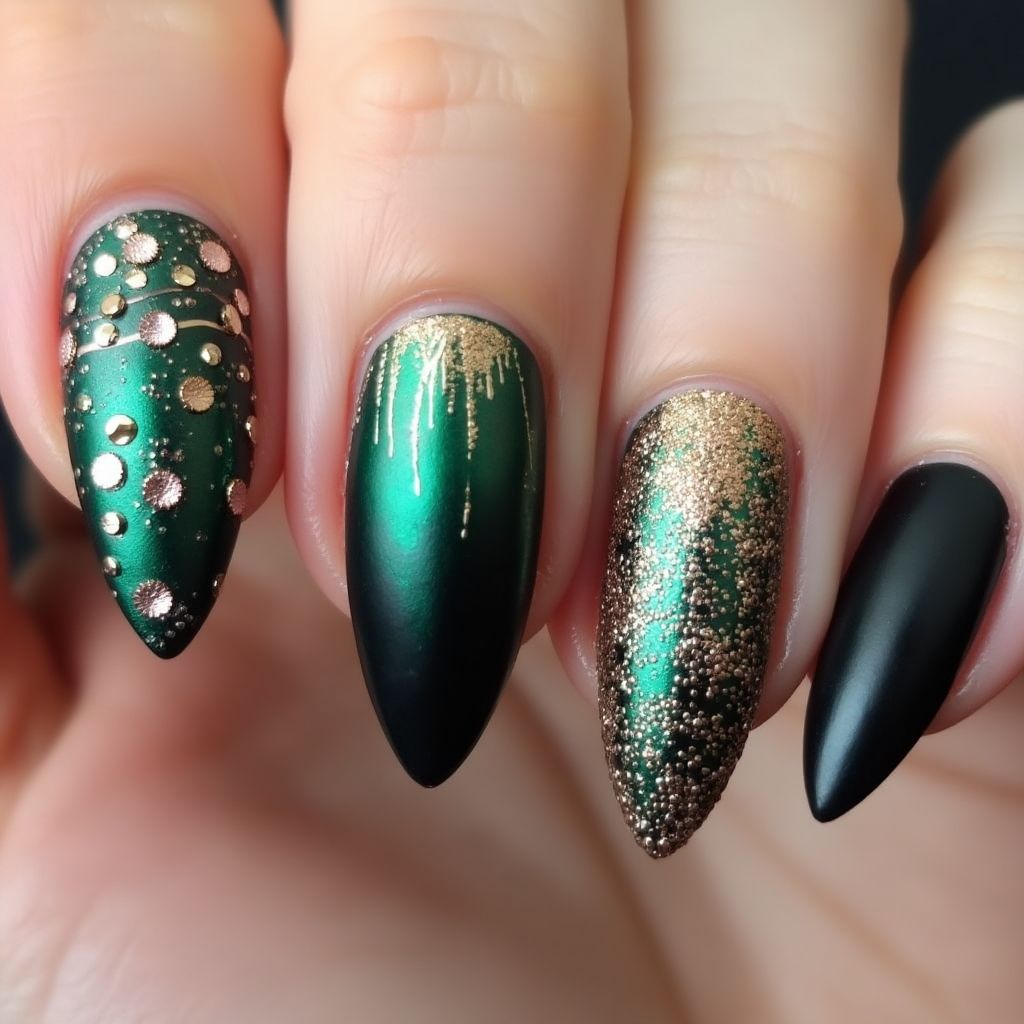
- 1This nail design features a striking blend of deep green and gold accents, creating an elegant and eye-catching look.
- 2The design incorporates various textures, including matte black and shiny, textured elements, which adds depth and dimension.
- 3The use of gold embellishments and dripping details enhances the luxurious vibe while maintaining a modern aesthetic.
Items Needed for this Design
Nail Preparation
- Nail file
- Cuticle pusher
- Base coat
- Top coat
Nail Polish Colors
- Deep green nail polish
- Matte black nail polish
- Gold nail polish
- Gold glitter polish
Nail Art Tools
- Dotting tool
- Nail art brush
- Sponge for ombre effect
- Nail art stickers or studs
Cleanup
- Nail polish remover
- Cotton pads
- Cleanup brush
Step by Step DIY(Do It Yourself) Guide
1
Prep your nails for the design.
- Remove any existing nail polish and files the nails to your desired shape.
- Gently push back cuticles and apply a base coat to protect the natural nails.
2
Apply the base color.
- Paint all nails with deep green polish and let it dry completely.
- For the accent nails, apply a layer of matte black nail polish.
3
Create the textured effects.
- Use a sponge to apply gold glitter polish at the cuticle area for an ombre effect on selected nails.
- With a dotting tool, add gold polka dots to one of the green nails.
4
Add the dripping effect.
- Using a nail art brush, create gold drips starting from the tip of an accent nail and extend downwards.
- Make sure the drips vary in length and thickness for a more organic look.
5
Finish the design.
- Apply a top coat over all the nails to seal in the design and provide shine.
- Clean up any excess polish around the nails with a cleanup brush dipped in nail polish remover.
Pro Tips
Always work in thin layers to prevent smudging and ensure quicker drying.
For more control with the nail art brush, practice on a piece of paper first if you're inexperienced.
Experiment with different textures by using matte and shiny top coats for a unique finish