Design Details
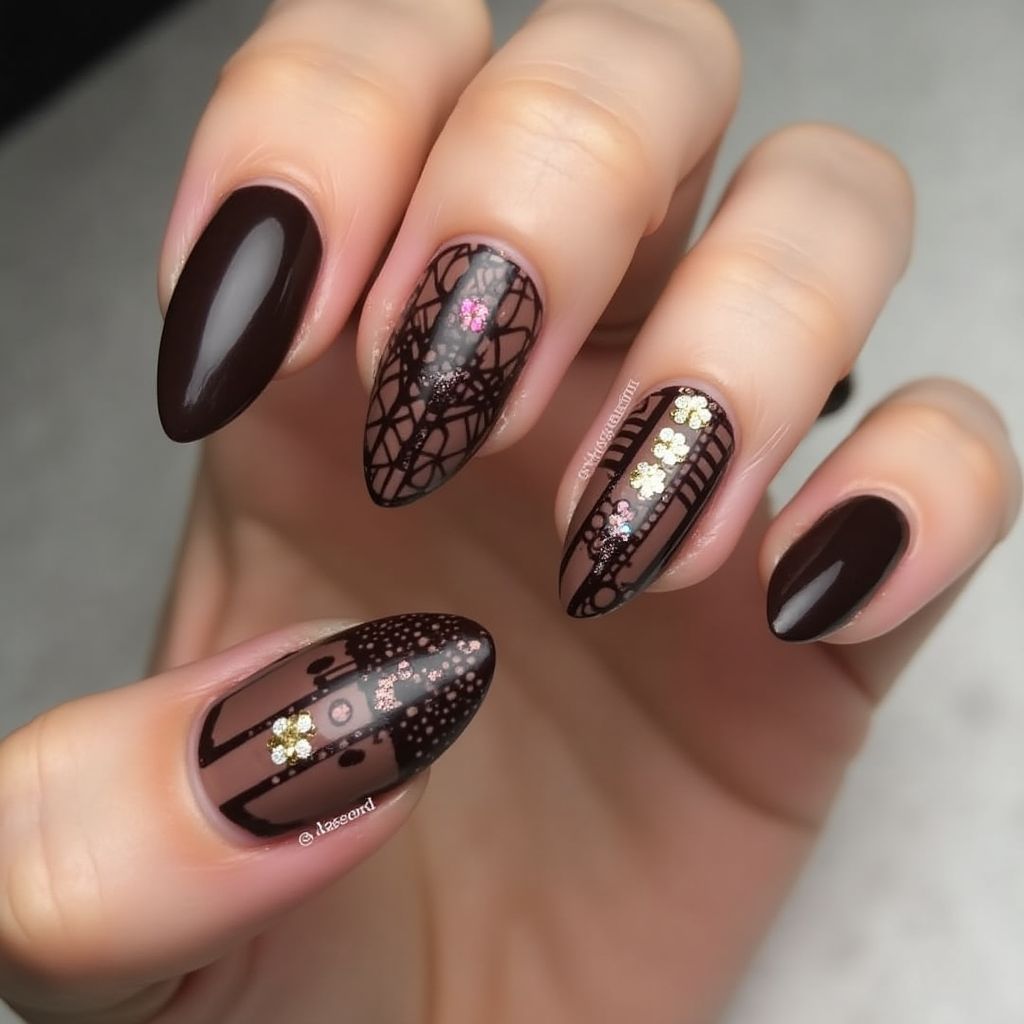
- 1The design features a combination of glossy dark brown and black polish for a chic look.
- 2Intricate lace-like patterns are created using black nail polish, providing a striking contrast against the brown.
- 3Embellishments including small floral designs in white and pink tones are scattered across a couple of nails for added elegance.
- 4The overall aesthetic is sophisticated yet playful, perfect for various occasions.
Items Needed for this Design
Nail Preparation
- Nail file
- Buffer
- Cuticle oil
- Base coat
Nail Polish Colors
- Dark brown polish
- Black polish
- White polish
- Pink polish
Nail Art Tools
- Detail brush
- Dotting tool
- Nail tape
Cleanup
- Nail polish remover
- Cotton pads
- Clean-up brush
Step by Step DIY(Do It Yourself) Guide
1
Prepare your nails.
- File and shape your nails to your desired length.
- Buff the surface to create a smooth canvas.
- Apply cuticle oil to soften cuticles and push them back.
- Finish with a base coat to protect your nails.
2
Apply the base color.
- Choose the dark brown polish as your base color.
- Apply two coats of the brown polish, allowing each coat to dry completely.
3
Create the lace patterns.
- Use nail tape to outline areas where you want to achieve the lace effect.
- With a detail brush, apply black polish over the taped areas to create intricate lace designs.
- Carefully remove the tape before the black polish dries.
4
Add embellishments.
- Using a dotting tool, place small dots of white and pink polish to form floral shapes.
- Arrange the flowers as desired across the nails with lace patterns.
5
Finish with top coat.
- Apply a top coat over the design to add shine and longevity.
- Ensure all elements are encapsulated for a smooth finish.
6
Clean up.
- Dip a clean-up brush in nail polish remover.
- Carefully tidy up around the cuticles and edges of the nails.
Pro Tips
Always start with clean nails for the best adhesion.
Take your time when applying intricate designs to ensure precision.
If you're new to nail art, practice your designs on a nail wheel first.
Consider using a fast-drying top coat to avoid smudging your artwork.