Design Details
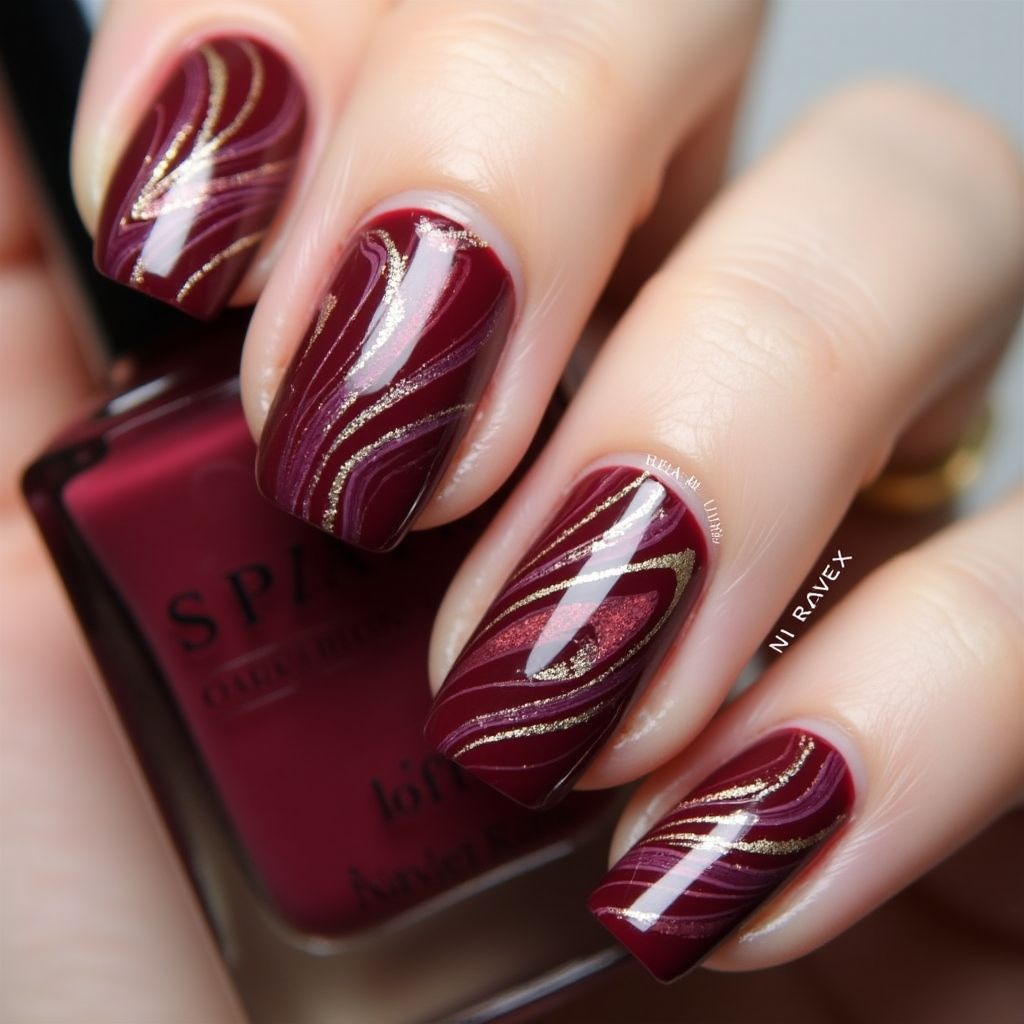
- 1The nail design features a deep burgundy base color with elegant wavy patterns in contrasting shades.
- 2Gold metallic lines intricately intertwine through the design, adding sophistication and glamour.
- 3The combination of rich colors and glossy finishes provides a luxurious appearance, perfect for formal occasions.
Items Needed for this Design
Nail Preparation
- Nail buffer
- Cuticle pushers
- Nail file
- Base coat
Nail Polish Colors
- Deep burgundy nail polish
- Gold metallic nail polish
- Optional: light pink or nude topcoat
Nail Art Tools
- Striping tape or nail art brush
- Dotting tool (optional)
- Top coat
Cleanup
- Nail polish remover
- Cotton pads or swabs
Step by Step DIY(Do It Yourself) Guide
1
Prepare your nails.
- Buff the surface of your nails gently.
- Push back the cuticles using a cuticle pusher.
- File your nails to your desired shape.
2
Apply a base coat.
- Apply a thin layer of base coat to each nail.
- Allow it to dry completely.
3
Paint the base color.
- Apply two coats of deep burgundy nail polish.
- Allow each coat to dry thoroughly before applying the next.
4
Create wavy patterns.
- Using a dotting tool or a nail brush, apply the gold metallic polish in wavy lines across the nails.
- Ensure the lines are thin and follow a consistent pattern.
5
Seal the design.
- Once the design is dry, apply a top coat to protect the nail art.
- Allow it to dry completely.
6
Clean up any excess polish.
- Dip a cotton swab in nail polish remover.
- Carefully remove any polish around the cuticles or edges.
Pro Tips
For smoother lines, use striping tape to create guides before painting.
Always let each layer dry completely to prevent smudging.
Experiment with different colors for the wavy patterns to customize your design.
If you're new to nail art, practice on a nail wheel first before applying on your nails.