Design Details
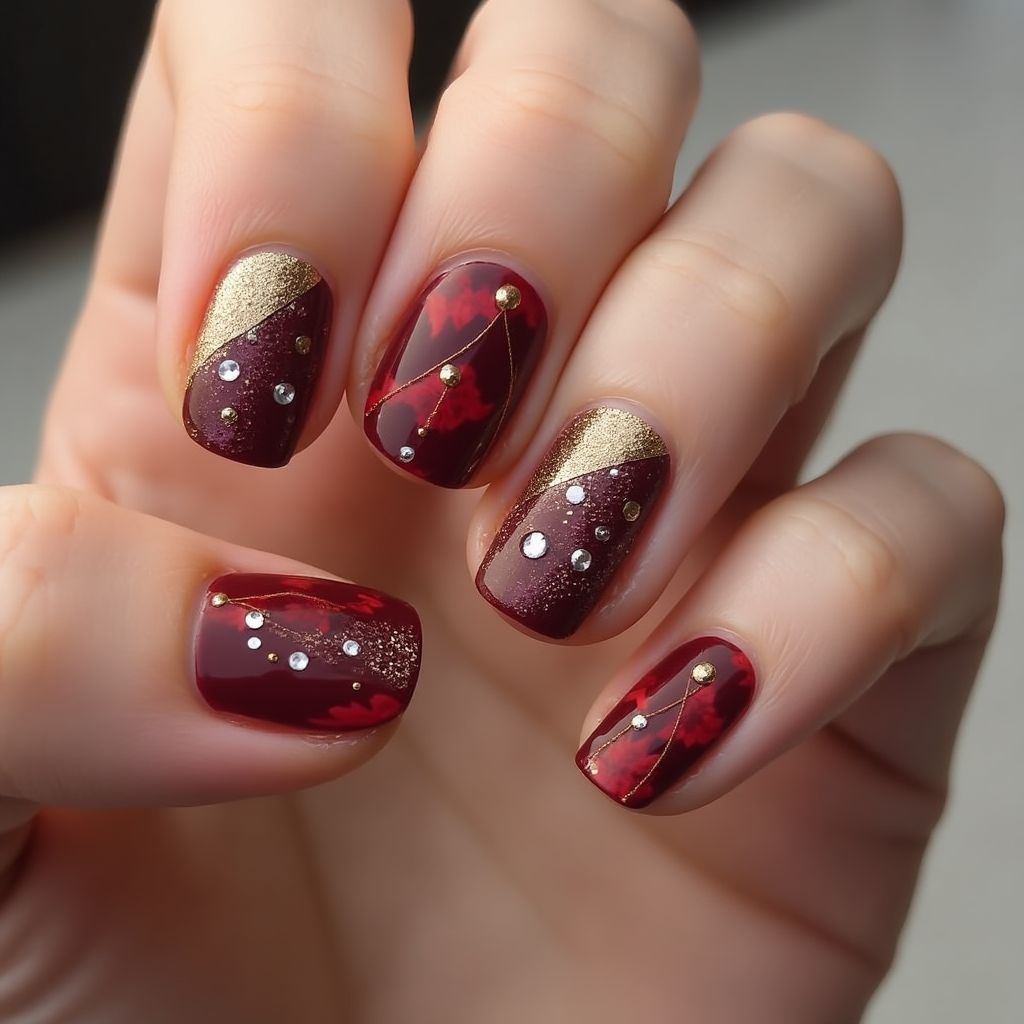
- 1This nail design features a rich burgundy base color with artistic gold accents.
- 2It incorporates geometric shapes, with some nails having a diagonal gold strip.
- 3The use of rhinestones and gold beads creates a luxurious effect.
- 4The overall look is elegant and suitable for formal occasions.
Items Needed for this Design
Nail Preparation
- Nail file
- Cuticle pusher
- Base coat
- Top coat
Nail Polish Colors
- Burgundy nail polish
- Gold nail polish
- Black nail polish (for detailing)
Nail Art Tools
- Nail art brush
- Dotting tool
- Rhinestones
- Gold beads
Cleanup
- Acetone or nail polish remover
- Cotton pads
Step by Step DIY(Do It Yourself) Guide
1
Prepare your nails for the design.
- File your nails to the desired shape.
- Gently push back the cuticles using a cuticle pusher.
- Apply a base coat to protect your natural nails.
2
Apply the base color.
- Paint all nails with burgundy nail polish.
- Allow the first coat to dry and add a second coat for opacity.
3
Create the gold accents.
- Using tape, create a diagonal line on designated nails.
- Apply gold nail polish on one side of the tape and remove the tape while it's still wet to create a clean line.
- Let it dry completely.
4
Add rhinestones and beads.
- Use a dotting tool to apply a small amount of nail glue where you want to place a rhinestone.
- Carefully place rhinestones and gold beads onto the designated areas.
- Seal with a top coat to secure embellishments.
5
Finish with a top coat.
- Apply a generous layer of top coat over all nails to enhance shine and durability.
- Allow the nails to dry completely.
Pro Tips
Choose a fast-drying top coat to speed up the process.
If new to nail art, practice applying accents on paper before your nails.
For a more secure hold on embellishments, use nail glue specifically designed for rhinestones.
To prevent smudging, always allow each layer to dry fully before proceeding.