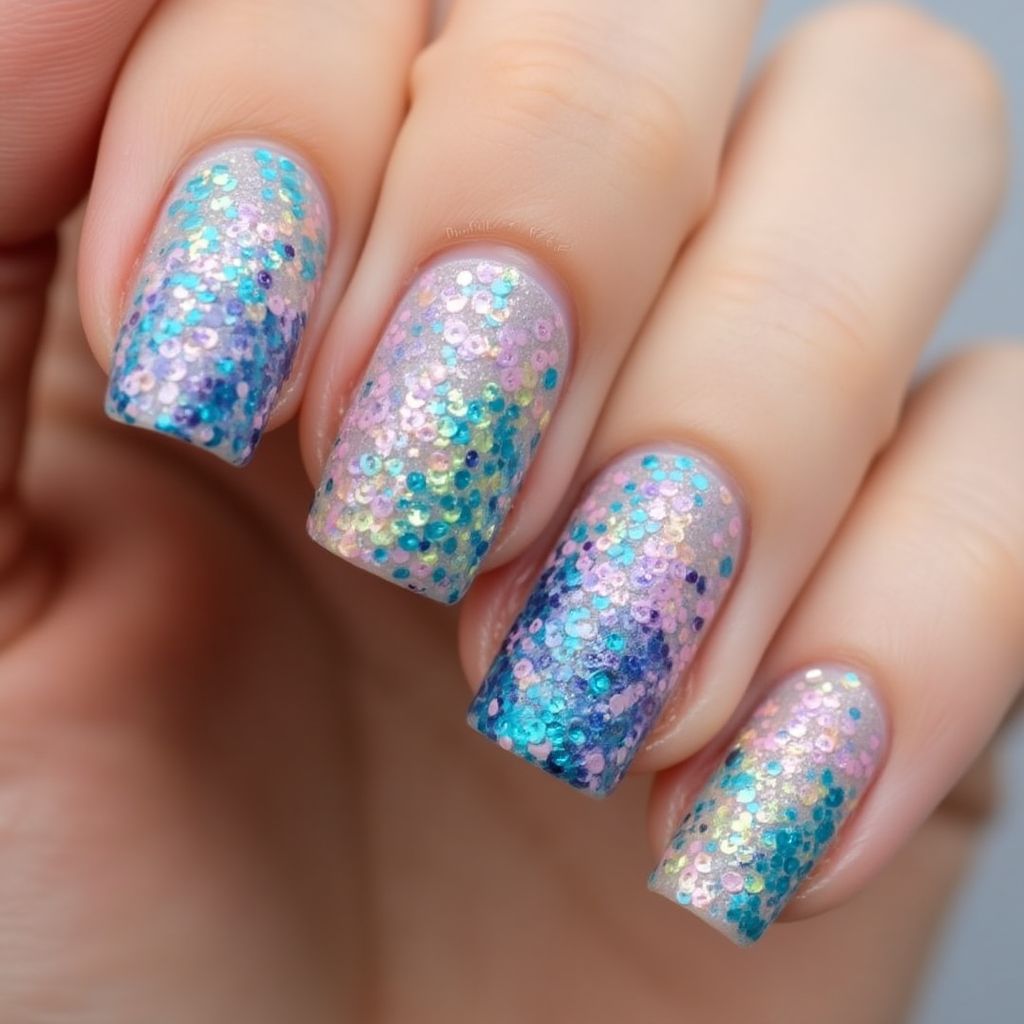
Sequins Dotting Nail Design
Vibrant Sequin Nail Art: A Playful Blend of Geometric Patterns and Floral Motifs

Design Details
- 1The nail design features a gradient effect with a blend of iridescent glitter in shades of blue, pink, and violet.
- 2Glitter is applied densely at the tips and gradually becomes sparser toward the cuticles, creating a beautiful ombre look.
- 3The finished effect is sparkly, eye-catching, and reminiscent of a magical underwater scene.
Items Needed for this Design
Nail Preparation
- Nail file
- Cuticle pusher
- Base coat
- Top coat
Nail Polish Colors
- Light blue nail polish
- Lavender nail polish
- Pink nail polish
- Glitter polish in various colors (blue, pink, violet)
Nail Art Tools
- Makeup sponge for gradient effect
- Dotting tool or brush for placing glitter
Cleanup
- Nail polish remover
- Q-tips or small brushes for cleanup
Step by Step DIY(Do It Yourself) Guide
1
Prepare the nails
- Use a nail file to shape the nails to your desired length.
- Gently push back the cuticles using a cuticle pusher.
- Apply a base coat to protect the natural nails.
2
Create the gradient effect
- Apply a layer of light blue polish on all nails and let it dry.
- On a makeup sponge, apply strips of light blue, lavender, and pink nail polish next to each other.
- Dab the sponge on the tip of your nails, gradually moving down towards the cuticles to create an ombre effect, allowing each layer to dry before adding more.
3
Add the glitter
- Apply glitter polish starting from the tips and tapping downwards for a gradient look.
- Use a dotting tool or brush to place additional loose glitter as desired.
- Let the nails dry completely.
4
Finish the design
- Apply a top coat to seal the design and add shine.
- Clean up any excess polish around the cuticles using nail polish remover on a Q-tip or small brush.
Pro Tips
Ensure each layer of polish is fully dry before applying the next to avoid smudging.
Use a clear top coat to enhance the sparkle and longevity of your design.
Practice the gradient technique on a practice nail or paper before applying it to your nails.