Design Details
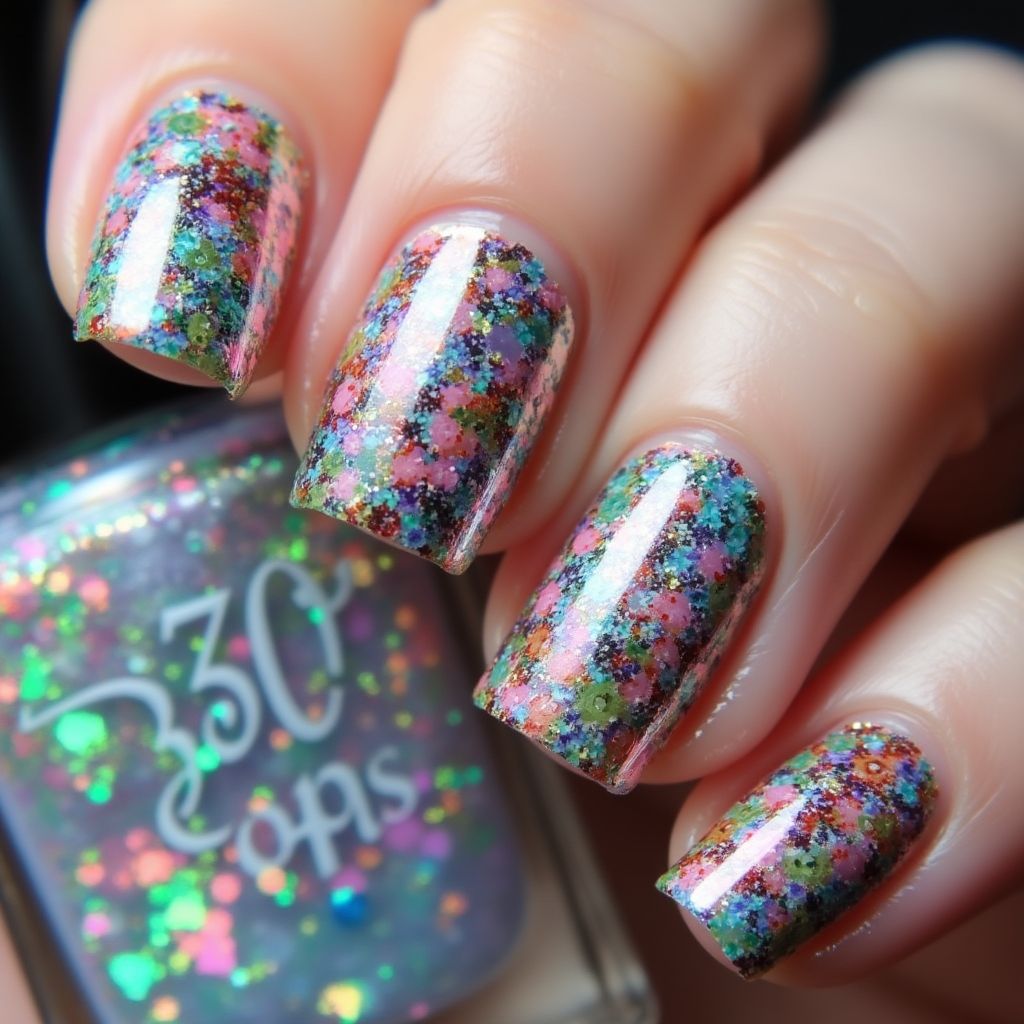
- 1This nail design features a vibrant glittery finish with a mix of colorful flecks in shades of pink, green, and gold, creating a cheerful and eye-catching look.
- 2The base color appears to be a sheer or light polish that allows the glittery accents to stand out prominently.
- 3The overall effect is playful and festive, perfect for celebrations or adding a pop of color to any outfit.
Items Needed for this Design
Nail Preparation
- Nail file
- Nail buffer
- Cuticle pusher
- Base coat
Nail Polish Colors
- Sheer or light base polish
- Glitter top coat in multiple colors (pink, green, gold)
Nail Art Tools
- Fine brush or dotting tool (optional for placement)
- Top coat
Cleanup
- Acetone or nail polish remover
- Cotton pads or swabs
Step by Step DIY(Do It Yourself) Guide
1
Prep your nails
- File and shape your nails to your desired length.
- Push back your cuticles gently with a cuticle pusher.
- Buff the surface of your nails for a smooth finish.
2
Apply base coat
- Apply a layer of base coat to protect your nails.
- Let it dry completely before moving on.
3
Apply base polish
- Choose a sheer or light base polish.
- Apply one or two coats, allowing each layer to dry completely.
4
Add glitter
- Using a brush or dotting tool, apply the glitter top coat over your nails.
- Make sure to distribute the glitter evenly for a balanced look.
- Let the glitter layer dry slightly, but not completely.
5
Finish with top coat
- Once the glitter is semi-dry, apply a clear top coat to seal in the glitter.
- Ensure even application for a smooth finish.
- Allow your nails to dry completely.
6
Clean up
- Use acetone or nail polish remover on a cotton pad or swab to clean up any excess polish around the nails.
- Be gentle to avoid disturbing the design.
Pro Tips
For easier cleanup, apply a little petroleum jelly around your cuticles before starting.
If you're new to glitter, start with a thinner layer and build up for more intensity.
Ensure each layer is dry before applying the next to prevent smudging.