Design Details
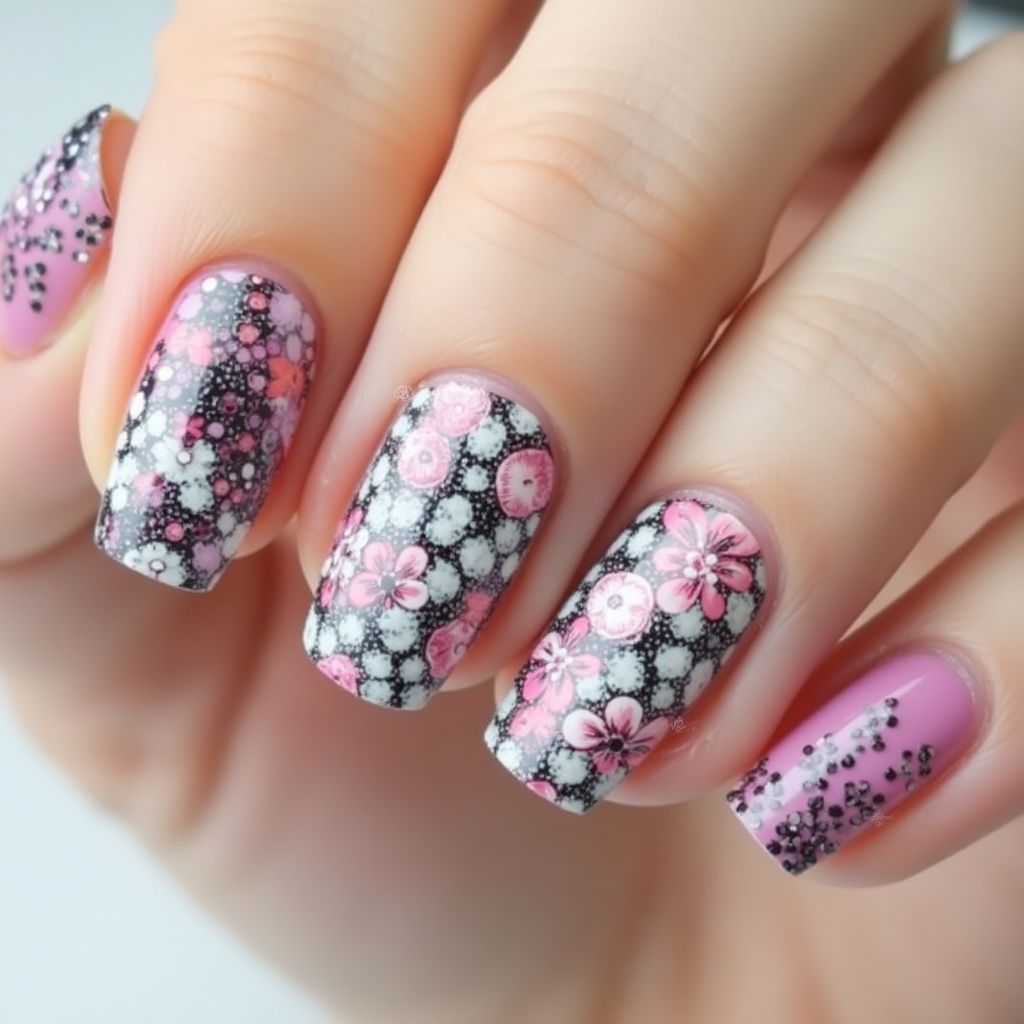
- 1This nail design features a combination of floral patterns and gradients, utilizing a striking black base with pops of pink, white, and subtle embellishments.
- 2The nails are predominantly adorned with intricate pink and white flowers over a black background, creating a bold yet delicate effect.
- 3Additional touches of glitter and gradient effects on a couple of nails enhance the overall aesthetic, making it suitable for various occasions.
Items Needed for this Design
Nail Preparation
- Nail file
- Cuticle pusher
- Base coat
- Top coat
Nail Polish Colors
- Black nail polish
- Pink nail polish
- White nail polish
- Transparent glitter top coat
Nail Art Tools
- Dotting tools
- Striping brush
- Nail art stencil (optional)
- Nail stickers (optional)
Cleanup
- Nail polish remover
- Cotton pads
- Cleanup brush
Step by Step DIY(Do It Yourself) Guide
1
Prepare your nails.
- File and shape your nails to your desired length.
- Push back cuticles gently and apply a base coat to protect the nails.
2
Apply the base color.
- Paint the majority of your nails with black nail polish.
- Allow the black polish to dry completely before moving on.
3
Create the floral designs.
- Use a dotting tool to create flower petals using pink and white polish.
- Add small dots inside the flowers for detail.
- Alternatively, use a stencil or stickers for added ease.
4
Add glitter and gradients.
- On a few nails, use the sponge technique to create a gradient effect with pink polish.
- Top it with a layer of glitter polish for extra sparkle.
5
Final touches.
- Once all designs are dry, apply a top coat to seal the artwork.
- Clean up any excess polish around the cuticles with nail polish remover and a cleanup brush.
Pro Tips
Always start with a base coat to protect your nails from staining.
Allow each layer to dry completely to avoid smudging your designs.
Practice flower designs on a piece of paper before applying them to your nails for better results.
Consider using a quick-dry top coat to speed up the drying process.
Feel free to experiment with colors and placements to make the design your own.