Design Details
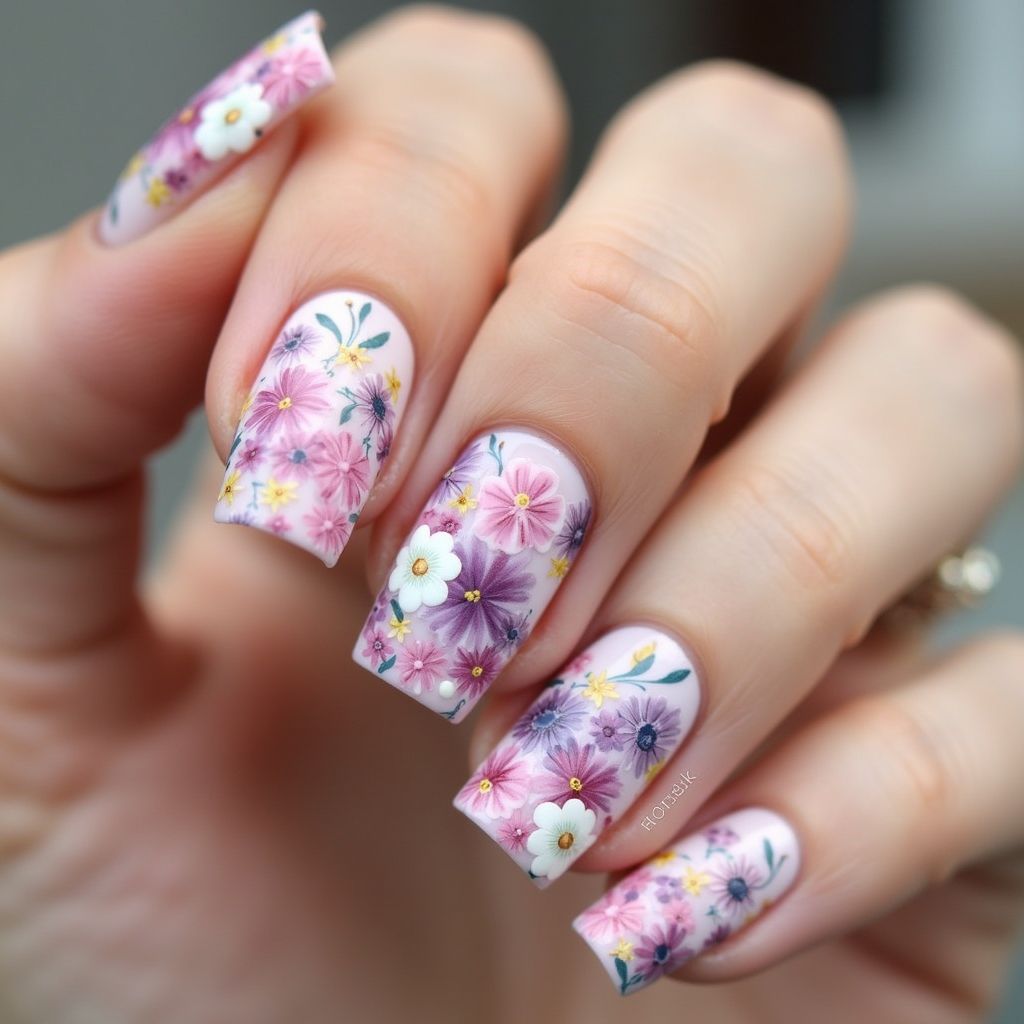
- 1This nail design features a delicate and vibrant floral pattern, creating a fresh and summery aesthetic.
- 2The design incorporates a variety of small, colorful flowers in shades of pink, purple, and white, complemented by tiny yellow accents.
- 3The soft, pastel pink base coat enhances the floral arrangement, making it pop, while the arrangement of flowers scattered across the nail gives a garden-fresh appearance.
- 4The overall effect is feminine and cheerful, perfect for spring or any occasion where a touch of nature is desired.
Items Needed for this Design
Nail Preparation
- Nail file
- Cuticle pusher
- Cuticle oil
- Base coat
Nail Polish Colors
- Pastel pink (base color)
- Light pink
- Medium pink
- Purple
- White
- Yellow
- Green
Nail Art Tools
- Small detail brush
- Dotting tool (various sizes)
Cleanup
- Nail polish remover
- тонкая кисть для удаления излишков лака
- Cotton swabs
- Top coat
Step by Step DIY(Do It Yourself) Guide
1
Prepare your nails.
- File your nails to your desired shape.
- Gently push back your cuticles.
- Apply cuticle oil and massage it in.
- Clean the nail surface with nail polish remover to remove any oils.
2
Apply the base coat.
- Apply a thin layer of base coat to protect your natural nails.
- Allow it to dry completely.
3
Apply the pastel pink base color.
- Apply two thin coats of pastel pink nail polish.
- Allow each coat to dry completely before applying the next.
4
Create the floral design.
- Using a small detail brush or dotting tool, create small flowers in various colors (light pink, medium pink, purple, and white). Start with larger flowers and fill in with smaller ones.
- Add tiny yellow dots in the center of some flowers to mimic the flower's stamen.
- Paint small green leaf shapes to fill empty space.
- Layer the flowers, allowing some to overlap for a more natural look.
- Ensure each flower element dries before adding more details to prevent smudging.
5
Clean up any mistakes.
- Dip a тонкая кисть для удаления излишков лака into nail polish remover and carefully clean up any polish around your cuticles.
6
Apply the top coat.
- Apply a generous layer of top coat to seal in the design and add shine.
- Allow the top coat to dry completely.
Pro Tips
Use a light hand and thin layers of polish to prevent smudging and ensure the design dries properly.
Clean your brush frequently to prevent color mixing and maintain crisp lines.
Practice the flower design on a piece of paper before applying it to your nails.
For a longer-lasting design, reapply top coat every other day.
If freehand painting is challenging, consider using floral nail stickers or stamps as an alternative.
To achieve the original design's 3D effect, consider using small, pre-made flower nail embellishments.