Design Details
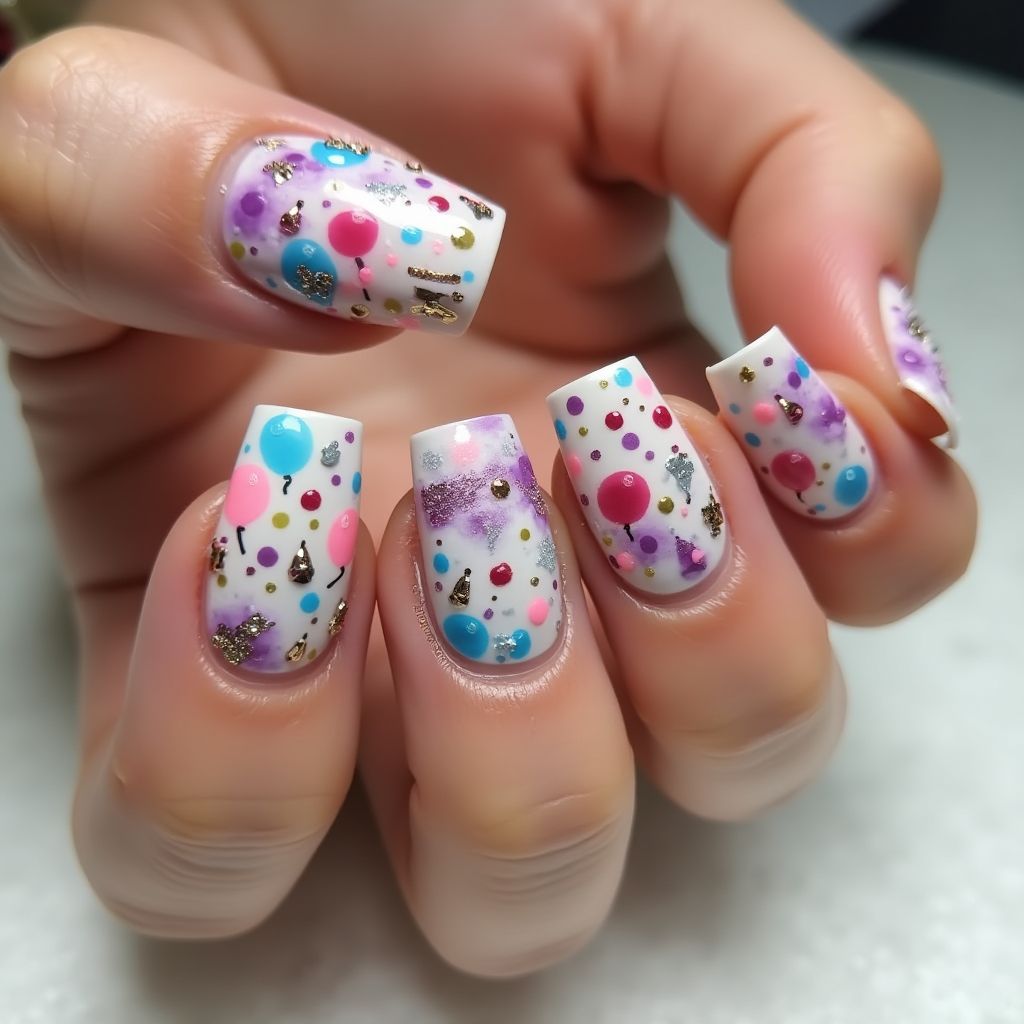
- 1The nail design features a vibrant mix of colors including pink, blue, gold, and purple against a clean white base, creating a playful and festive look.
- 2Various sizes of dots and accents scattered across the nails give a celebratory, confetti-like appearance.
- 3Some nails include fine glitter and metallic embellishments, adding texture and dimension to the overall design.
- 4This design is perfect for parties or special occasions, showcasing creativity and fun.
Items Needed for this Design
Nail Preparation
- Nail file
- Base coat
- Top coat
Nail Polish Colors
- White nail polish
- Pink nail polish
- Blue nail polish
- Purple nail polish
- Gold metallic polish
- Fine glitter or loose sequins
Nail Art Tools
- Dotting tool or toothpick
- Nail art brush
Cleanup
- Nail polish remover
- Cotton pads or swabs
Step by Step DIY(Do It Yourself) Guide
1
Prepare your nails for the design.
- File the nails to the desired shape.
- Apply a base coat to protect your nails.
2
Apply the base color.
- Paint all nails with a coat of white nail polish.
- Allow it to dry completely before proceeding.
3
Create the dot patterns.
- Using a dotting tool or toothpick, dip into the pink polish and create dots on one side of the nail.
- Repeat with the blue, purple, and gold polishes, adding dots of varying sizes and random placements.
4
Add embellishments.
- Sprinkle fine glitter or apply metallic accents on some of the nails for added texture.
- Use a nail art brush to place any additional details as desired.
5
Seal the design.
- Once all elements are dry, apply a top coat to seal the design.
- Make sure to cover the edges of the nails for durability.
6
Clean up.
- Use nail polish remover and cotton pads or swabs to clean any mistakes around the cuticles.
- Ensure a clean finish around your nails.
Pro Tips
Allow each layer to dry fully to prevent smudging.
Practice your dotting technique on paper before applying to your nails.
Consider using a matte top coat for a unique finish.
Experiment with different colors and sizes of dots for a personalized touch.