Design Details
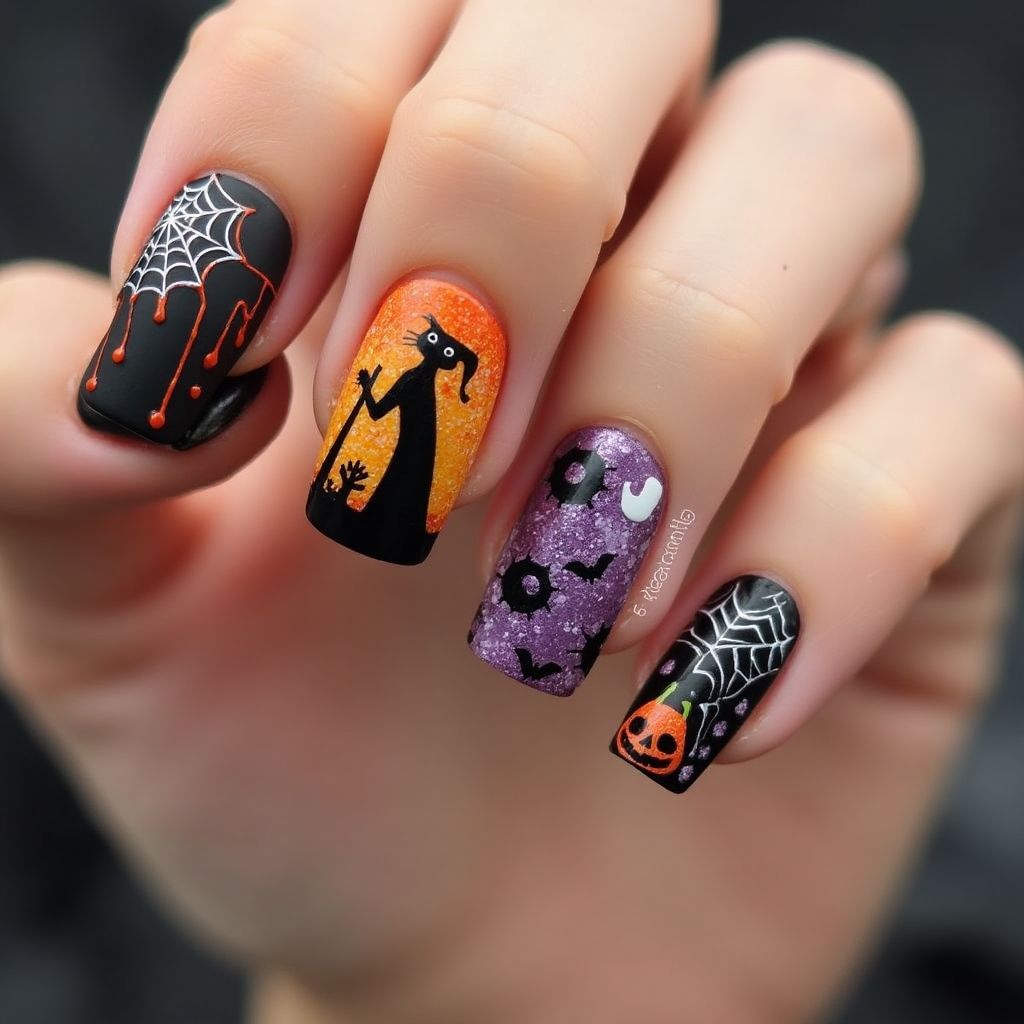
- 1This nail design features a Halloween theme with a matte finish, incorporating elements such as spider webs, dripping blood, a cat silhouette, bats, and a pumpkin.
- 2The color palette includes black, orange, and purple with glittery details on the orange and purple nails to add a sparkling effect.
- 3Each nail has a unique design, with one displaying a spider web and dripping red, another with a black cat and orange gradient, and another with various Halloween symbols on a purple glitter base.
- 4The final nail presents a pumpkin face over a spider web, emphasizing the Halloween motif with intricate and playful details.
Items Needed for this Design
Nail Preparation
- base coat
- top coat
- nail polish remover
- cotton pads
Nail Polish Colors
- black matte polish
- orange glitter polish
- purple glitter polish
- red polish
Nail Art Tools
- fine nail art brush
- dotting tool
- striping tape (optional)
Cleanup
- small angled brush
- acetone
Step by Step DIY(Do It Yourself) Guide
1
Prepare your nails with a base coat.
- Remove any existing nail polish using remover and cotton pads.
- Trim and file nails to the desired length and shape.
- Apply a thin base coat to protect your nails and allow it to dry.
2
Apply the primary nail polish colors.
- Paint the thumb and ring fingers black for the spider web and pumpkin designs.
- Use orange glitter polish for the middle finger and purple glitter polish for the ring finger.
- Apply the colors evenly and allow them to dry completely.
3
Create the detailed designs.
- Use a fine nail art brush to paint a white spider web on the black nails, adding red dots for the dripping effect.
- For the middle finger, paint a cat silhouette with a nail art brush over the orange gradient.
- On the ring finger, use a dotting tool to create bats, the word 'BOO', and other symbols using black polish on the purple base.
- Add a pumpkin face on the little finger with black polish over the spider web.
4
Seal the design with a top coat.
- Apply a matte top coat over all nails to achieve a consistent matte finish.
- Allow the top coat to dry thoroughly to ensure the design is sealed.
5
Clean up around the nails.
- Dip a small angled brush in acetone.
- Carefully clean any polish outside the nail area for a clean look.
Pro Tips
Work in a well-lit area to ensure precision in detailed designs.
Practice the nail art designs on paper first if needed.
For best results, allow each layer of color to dry completely before adding designs.
Using a fast-drying top coat can help speed up the process.