Design Details
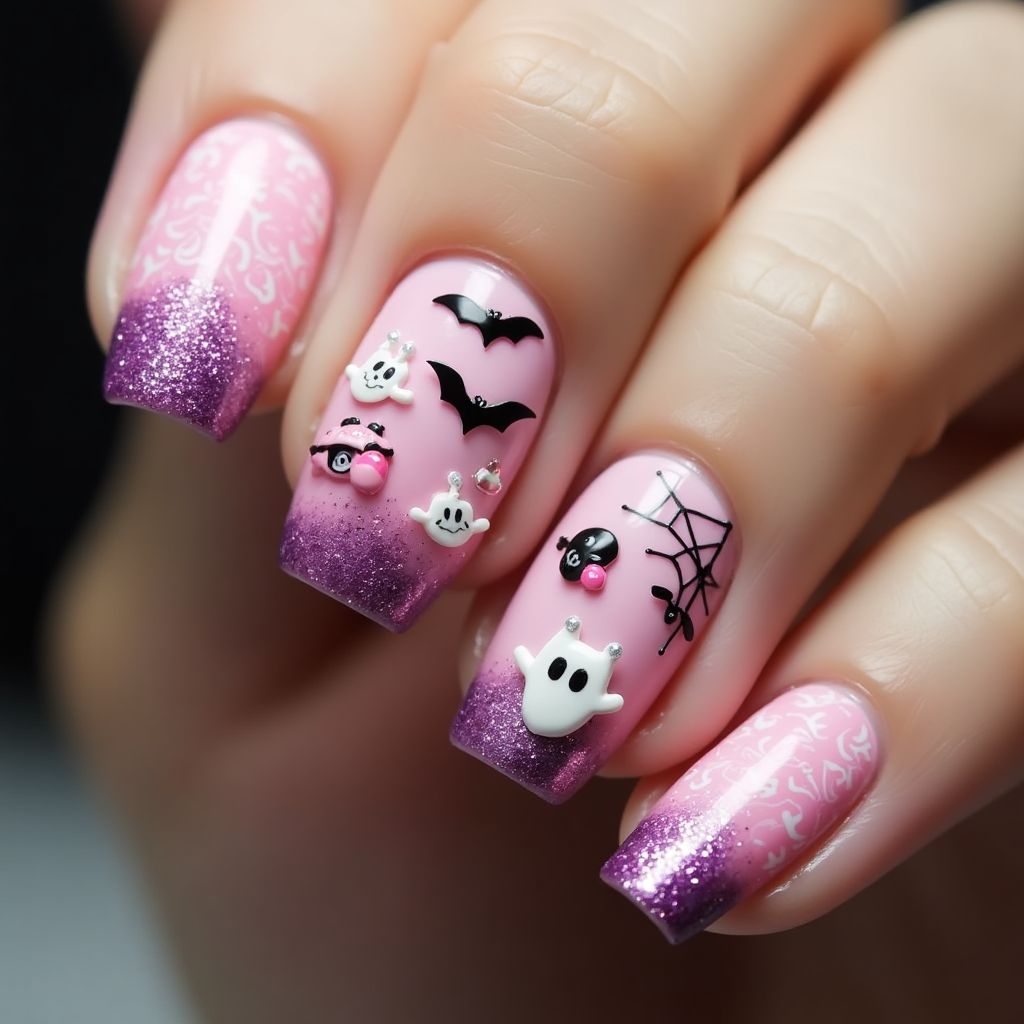
- 1The design features a Halloween theme with pink nail polish as the base color, creating a soft background for the spooky elements.
- 2Each nail showcases different Halloween-themed embellishments, including ghosts, bats, and spider webs, mostly in black and white contrast with the pink background.
- 3The tips of the nails have a purple glitter gradient effect, adding a touch of sparkle and depth to the design.
- 4The intricate details are achieved using 3D embellishments and stickers, adding a fun and playful element to the nails.
Items Needed for this Design
Nail Preparation
- nail file
- cuticle pusher
- base coat
- top coat
Nail Polish Colors
- pink nail polish
- purple glitter nail polish
Nail Art Tools
- 3D Halloween nail stickers (ghosts, bats, spider webs)
- fine nail art brush
Cleanup
- nail polish remover
- cotton swabs
Step by Step DIY(Do It Yourself) Guide
1
Prepare your nails.
- File your nails to your desired shape.
- Gently push back the cuticles using a cuticle pusher.
- Apply a base coat to protect your natural nails.
2
Apply the base color.
- Paint all nails with pink nail polish as the base color.
- Let the polish dry completely.
3
Create the gradient effect.
- Apply the purple glitter polish to the tips of the nails.
- Use a fine brush to blend the glitter into the pink for a gradient look.
- Allow it to dry thoroughly.
4
Add Halloween embellishments.
- Carefully apply the 3D Halloween stickers like ghosts, bats, and spider webs to each nail.
- Use tweezers if necessary for precise placement.
5
Seal the design.
- Apply a top coat over all the nails to seal the design and add shine.
- Allow it to dry completely.
Pro Tips
Ensure each layer of polish is completely dry before proceeding to prevent smudging.
Use a steady hand or support the hand on a stable surface while applying the stickers.
If you find 3D embellishments cumbersome, consider using smaller flat stickers for a similar effect.
Keep cotton swabs dipped in polish remover handy for quick cleanup of any polish outside the nail area.