Square Glitter Flakes Nail Design
Sparkling Square Nails: Embrace Iridescent Glitter and Geometric Elegance for a Festive Look
Design Details
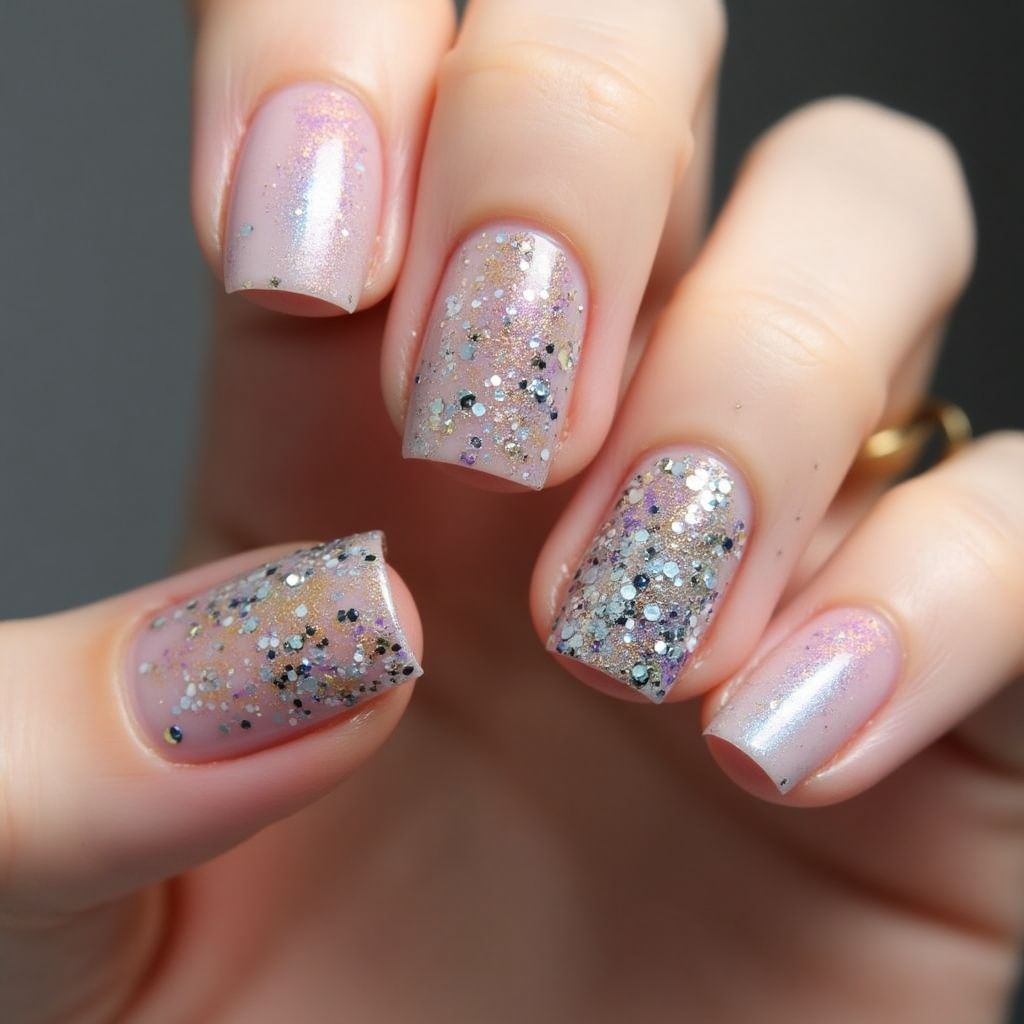
- 1This nail design features a soft, sheer base color with a blend of glittery accents, creating a dreamy and ethereal effect.
- 2The glitter is composed of various shaped particles in different colors, including silver, gold, and multicolored specks, adding dimension and sparkle.
- 3The overall look is delicate and modern, suitable for both casual and formal occasions.
Items Needed for this Design
Nail Preparation
- Nail file
- Nail buffer
- Base coat
Nail Polish Colors
- Sheer nude or light pink polish
- Gold glitter polish
- Silver glitter polish
- Multicolored glitter polish
- Top coat
Nail Art Tools
- Dotting tool or sponge for application
- Nail brush for cleanup
Cleanup
- Acetone or nail polish remover
- Cotton pads
Step by Step DIY(Do It Yourself) Guide
1
Prepare your nails.
- File and shape your nails to your desired length and style.
- Buff the surface for a smooth finish.
- Apply a base coat to protect your nails.
2
Apply the base color.
- Choose a sheer nude or light pink polish.
- Apply one to two thin layers, allowing each layer to dry completely.
3
Add glitter.
- Using a dotting tool or sponge, lightly dab gold, silver, and multicolored glitter polish onto portions of the nail.
- Blend the glitters to your liking, focusing more on the tips if desired.
4
Seal the design.
- Once the glitter is dry, apply a top coat to seal and add shine.
- Ensure even coverage for durability.
5
Clean up.
- Use a nail brush and acetone to clean any excess polish around the cuticles.
- Finish by washing hands to remove any residue.
Pro Tips
Always use a base coat to protect your nails from staining.
For a less messy application of glitter, consider using a glitter gel or polish designed for easy removal.
If you want a more pronounced effect, apply more layers of glitter polish.
Ensure each layer dries completely to prevent smudging.