Design Details
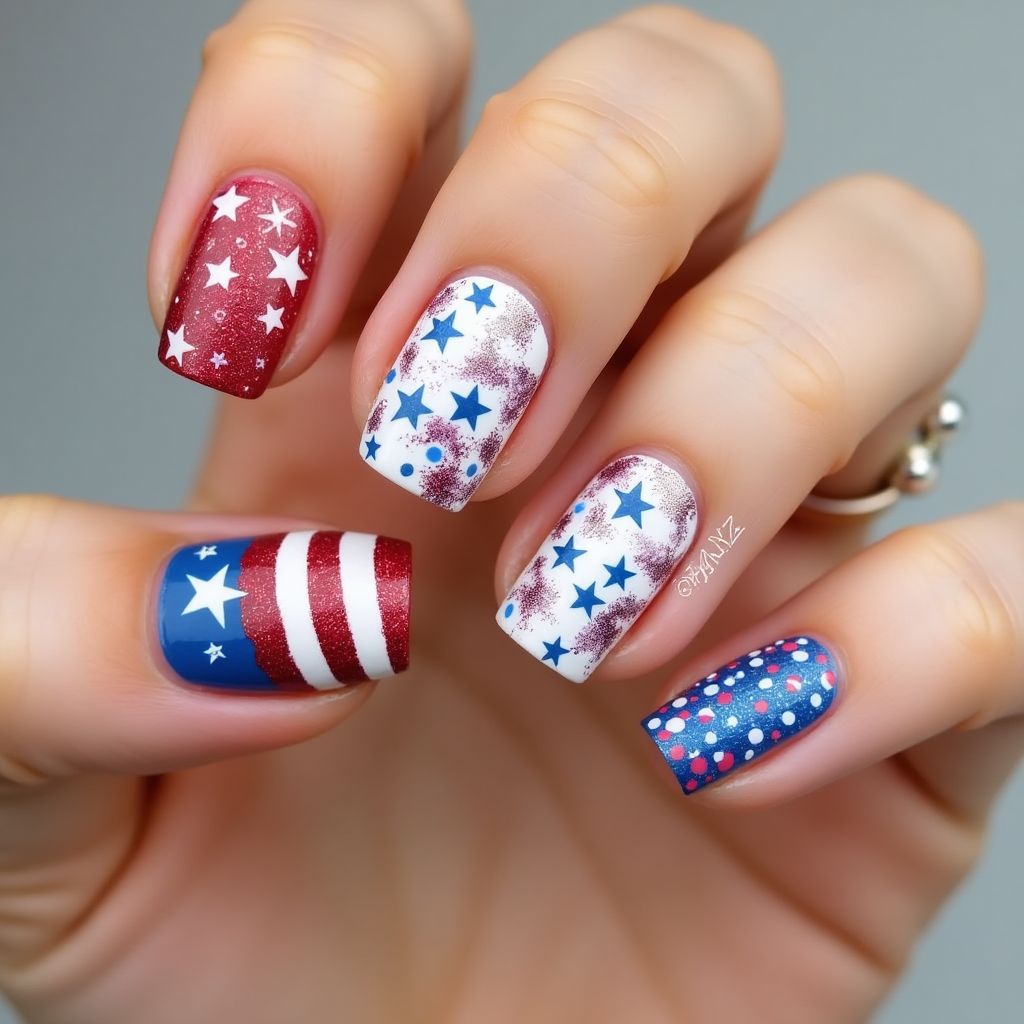
- 1The nail design features a patriotic theme with red, white, and blue colors.
- 2Each nail showcases different patterns, including stars, stripes, and polka dots.
- 3The designs incorporate glitter elements, providing a sparkling effect.
- 4White stars against a red or blue background add a bold contrast.
Items Needed for this Design
Nail Preparation
- Nail file
- Cuticle pusher
- Base coat
Nail Polish Colors
- Red
- White
- Blue
- Glittery red
Nail Art Tools
- Star-shaped stickers or stencils
- Dotting tool
- Thin brush
- Top coat
Cleanup
- Nail polish remover
- Cotton swabs
Step by Step DIY(Do It Yourself) Guide
1
Prepare your nails.
- File and shape your nails to your desired length.
- Gently push back cuticles using a cuticle pusher.
- Apply a thin layer of base coat to all nails to protect them.
2
Apply the base colors.
- Paint the thumb and pinky nails with blue polish.
- Paint the index and ring nails with red polish.
- Paint the middle nail with white polish.
3
Create star and stripe patterns.
- Use star-shaped stickers or stencils on the index and middle nails; paint over with white or blue depending on the background color, then remove stickers.
- Create red and white stripes on the thumb using a thin brush.
4
Add glitter and dots.
- Apply a layer of glittery red polish over the red nails.
- Use a dotting tool to add red and white dots on the blue pinky nail.
5
Finish with a top coat.
- Seal in your design with a layer of top coat for shine and protection.
- Clean up any excess polish using a cotton swab dipped in nail polish remover.
Pro Tips
Let each layer dry completely before applying the next to prevent smudging.
Use nail polish remover to clean up edges for a sharp, clean look.
Experiment with different sizes of stars and dots for a unique finish.
Apply the top coat every few days to extend the life of your manicure.