Design Details
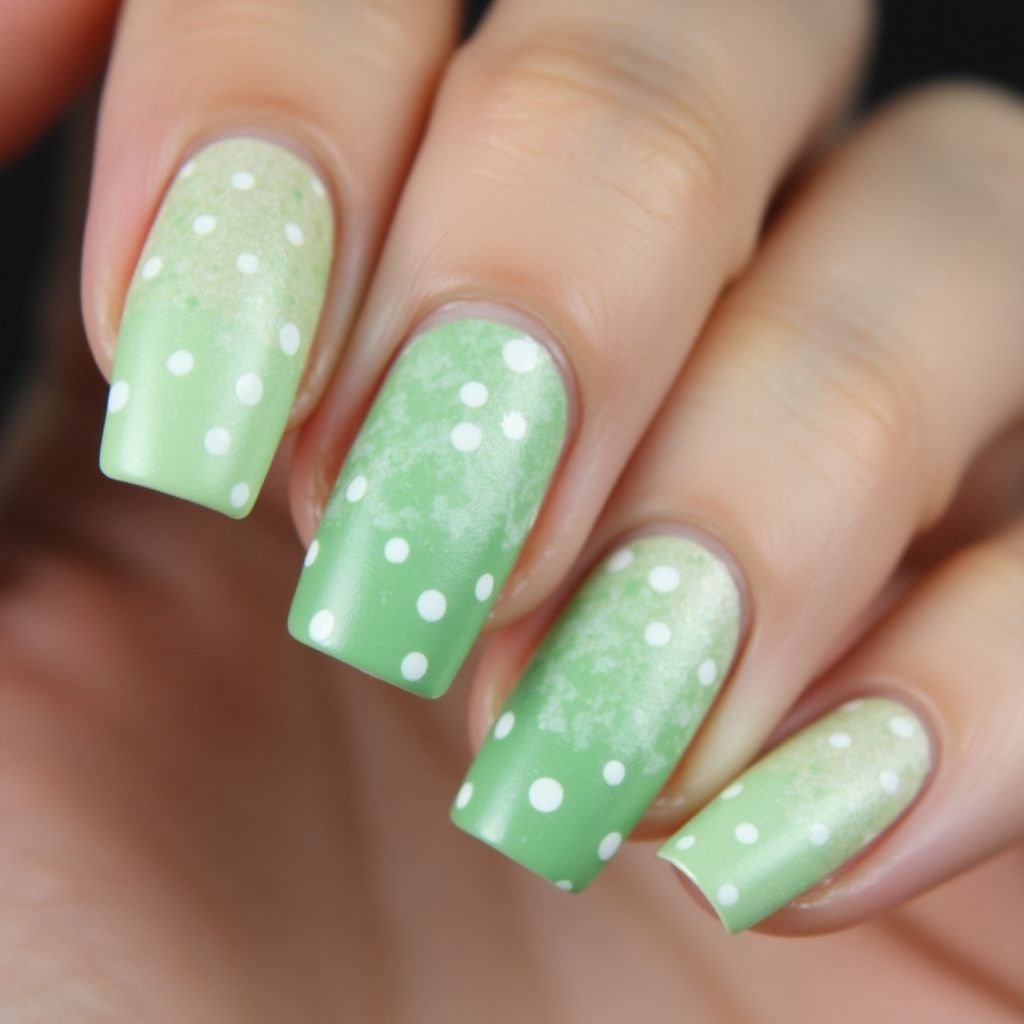
- 1This nail design features a gradient effect with varying shades of green, transitioning from a lighter shade at the cuticle to a deeper green at the tips.
- 2White polka dots are applied in varying sizes across the nails, creating a playful and cheerful look.
- 3The matte finish adds a modern touch, enhancing the overall design while keeping it stylish and understated.
Items Needed for this Design
Nail Preparation
- Nail file
- Nail buffer
- Base coat
- Top coat
Nail Polish Colors
- Light green polish
- Dark green polish
- White polish
Nail Art Tools
- Dotting tool or toothpick
- Makeup sponge (for gradient effect)
Cleanup
- Acetone or nail polish remover
- Cotton pads
Step by Step DIY(Do It Yourself) Guide
1
Prepare the nails
- File and buff the nails to your desired shape and smoothness.
- Apply a base coat to protect the natural nail and enhance polish adhesion.
2
Create the gradient effect
- Using a makeup sponge, apply the light green polish at the bottom and the dark green polish at the top.
- Dab the sponge onto the nail, blending the colors until the gradient effect is achieved.
- Repeat on all nails, ensuring to blend well where the colors meet.
3
Apply polka dots
- Using a dotting tool or toothpick, dip it into white polish.
- Gently dot the white polish onto the nails, varying the sizes for a more dynamic look.
- Allow the dots to dry completely.
4
Finish with top coat
- Apply a matte top coat to seal the design and provide a uniform finish.
- Cure or allow to dry as per the top coat instructions.
5
Clean up any excess polish
- Moisten a cotton pad with acetone or nail polish remover.
- Carefully clean around the edges of the nails to remove any excess polish.
Pro Tips
Ensure to let each layer dry before applying the next to prevent smudging.
Use a light touch when applying the polka dots for more control and precision.
If you don't have a dotting tool, a toothpick can work as a great alternative.