Design Details
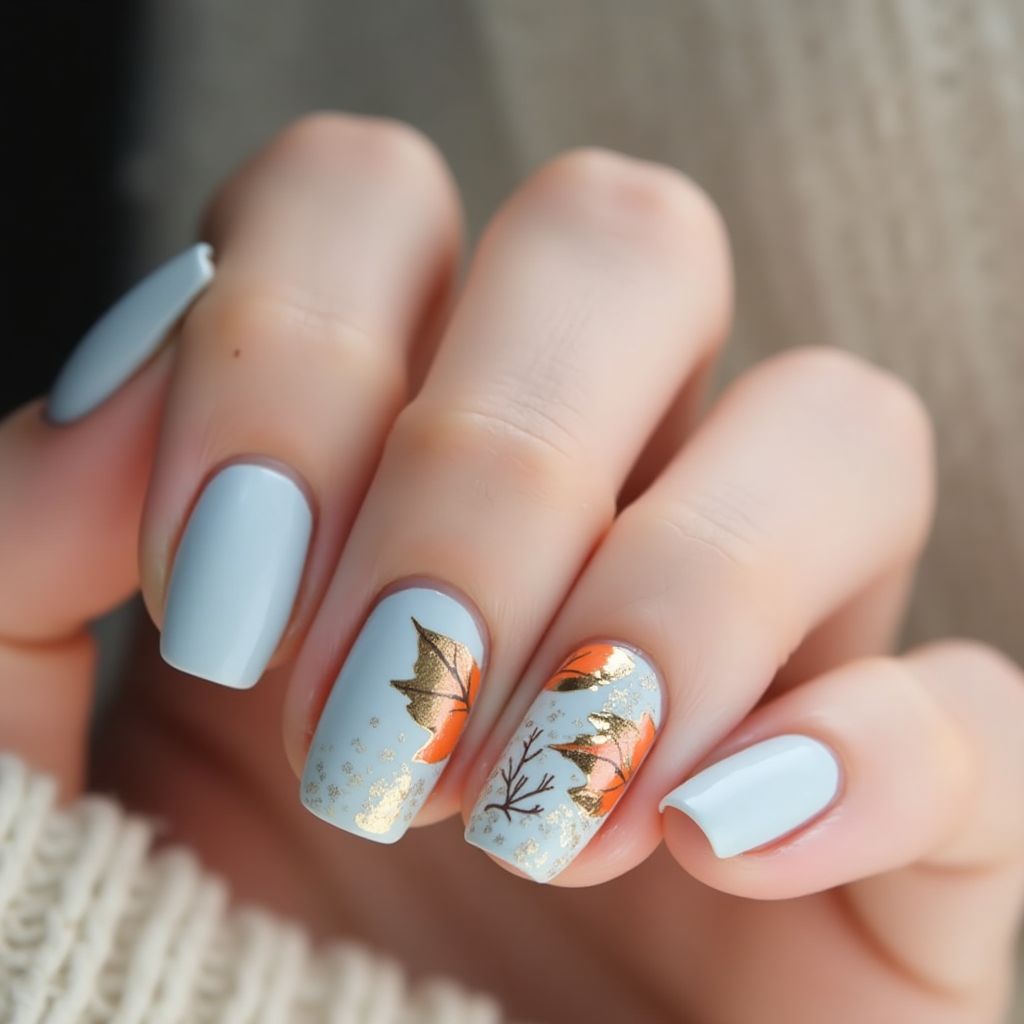
- 1This nail design features a soft pastel blue base that creates a calming backdrop.
- 2It incorporates intricate leaf patterns in gold and orange, adding a seasonal flair.
- 3Gold foil accents enhance the design, providing a touch of shimmer and luxury.
- 4Overall, the mix of colors and elements evokes a fresh, autumn-inspired aesthetic.
Items Needed for this Design
Nail Preparation
- Nail file
- Cuticle pusher
- Base coat
Nail Polish Colors
- Pastel blue nail polish
- Gold nail polish
- Orange nail polish
- Clear top coat
Nail Art Tools
- Nail art brush
- Dotting tool
- Gold foil
Cleanup
- Nail polish remover
- Cotton pads
- Clean-up brush
Step by Step DIY(Do It Yourself) Guide
1
Prepare your nails.
- File nails to your desired shape.
- Gently push back cuticles using a cuticle pusher.
- Apply a base coat to protect your nails.
2
Paint the base color.
- Apply two coats of pastel blue nail polish, allowing each coat to dry completely.
3
Create leaf patterns.
- Using a nail art brush, carefully paint leaf shapes with gold polish.
- Add orange polish to create detail and dimension in the leaves.
- Allow the designs to dry before moving to the next step.
4
Add gold foil accents.
- While the design is still slightly tacky, apply small pieces of gold foil onto the nail for added texture and decoration.
- Gently press the foil into place.
5
Finish with a top coat.
- Once everything is dry, apply a clear top coat to seal the design and add shine.
- Allow the top coat to dry thoroughly.
Pro Tips
Ensure each layer of polish is completely dry to prevent smudging.
Practice leaf designs on a nail wheel before applying them to your nails.
Use a cleanup brush dipped in nail polish remover for any mistakes around the edges.
Experiment with different colors for a unique seasonal look.