Design Details
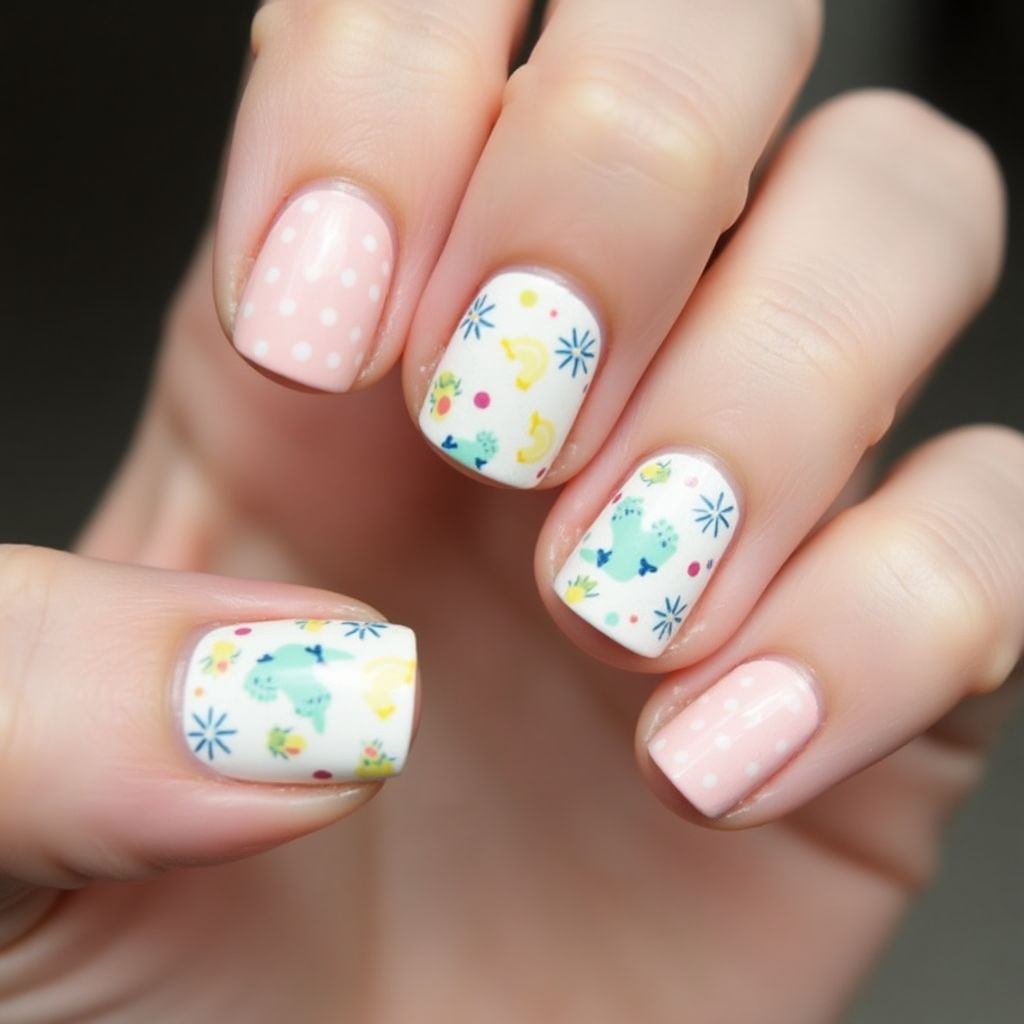
- 1This nail design features a playful combination of colors and patterns, creating a cheerful summer vibe.
- 2Half of the nails showcase a soft pink base with white polka dots, while the other half displays a white background adorned with colorful illustrations of fruits and plants.
- 3The mix of bright colors and whimsical designs makes it suitable for casual and festive occasions alike.
Items Needed for this Design
Nail Preparation
- Nail file
- Cuticle pusher
- Base coat
- Top coat
Nail Polish Colors
- Soft pink nail polish
- White nail polish
- Yellow nail polish
- Green nail polish
- Blue nail polish
- Red nail polish
Nail Art Tools
- Dotting tool
- Nail art brush
- Nail stamping kit (optional)
Cleanup
- Nail polish remover
- Cotton pads
Step by Step DIY(Do It Yourself) Guide
1
Prepare your nails
- File your nails to the desired shape.
- Push back cuticles gently with a cuticle pusher.
- Apply a base coat to protect your nails.
- Allow the base coat to dry completely.
2
Apply the base color
- Paint half of your nails with soft pink polish and let dry.
- On the remaining half, apply two coats of white polish, allowing each coat to dry.
3
Create the polka dot pattern
- Using a dotting tool, dip it into white polish and make dots on the pink nails.
- Ensure the dots are evenly spaced and allow to dry.
4
Add fruit designs
- Using a nail art brush, create small illustrations of fruits like bananas, pineapples, and plants on the white nails.
- Utilize various colors for each design and let it dry.
5
Finish with top coat
- Once all designs are dry, apply a top coat to seal the nail art and add shine.
- Allow the top coat to dry completely.
Pro Tips
Make sure to use thin coats of polish for quicker drying times.
If you make mistakes while painting, use a small brush dipped in remover to clean up edges.
Practice the fruit designs on a piece of paper before applying them to your nails for better accuracy.
Consider using a quick-dry top coat for faster results.
Be patient between application of layers to avoid smudging.