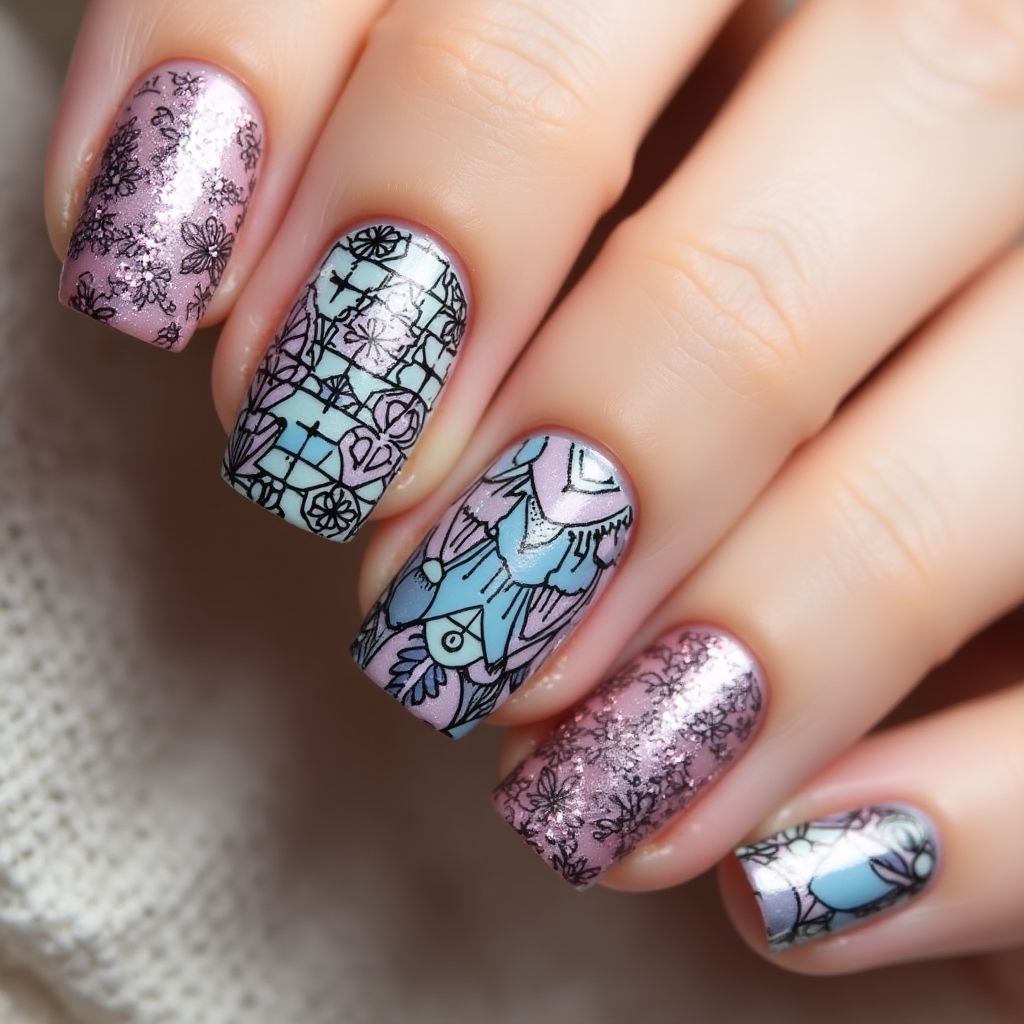
Stamping Plates Square Nail Design
Elevate Your Nail Game with Stunning Square Designs: Floral, Geometric, and More!

Design Details
- 1This nail design features a combination of pastel blue and pink tones with intricate floral and geometric patterns.
- 2Each nail showcases a unique design: two nails have a soft pink glitter base, while two others display fine black line art over a pastel blue background.
- 3The overall aesthetic is whimsical and playful, making it perfect for spring or summer occasions.
Items Needed for this Design
Nail Preparation
- Nail file
- Nail buffer
- Base coat
- Top coat
Nail Polish Colors
- Pastel blue nail polish
- Soft pink nail polish
- Pink glitter polish
- Black nail art polish
Nail Art Tools
- Nail art brush or fine detail brush
- Stamping kit (optional)
- Dotting tool (optional)
Cleanup
- Acetone or nail polish remover
- Cotton pads or swabs
Step by Step DIY(Do It Yourself) Guide
1
Prepare the nails
- File and shape your nails to your desired length.
- Buff the surface to create a smooth base.
- Apply a base coat to protect your nails.
2
Apply the base colors
- Paint two nails with pastel blue nail polish.
- On the other two nails, apply soft pink nail polish followed by a layer of pink glitter polish.
- Allow the base color to dry completely.
3
Create the nail art
- Using black nail art polish and a fine detail brush, carefully draw floral or geometric patterns on the pastel blue nails.
- For the glitter nails, use the same black polish to add subtle line art for a cohesive look.
- If desired, use a stamping kit to apply intricate designs more easily.
4
Finish the design
- Once the nail art is dry, apply a top coat to seal the design and add shine.
- Clean up any excess polish around the nails with acetone and cotton pads.
- Allow everything to dry fully before using your hands.
Pro Tips
Make sure each layer is fully dry before applying the next to avoid smudging.
If you're new to nail art, practice the designs on a piece of paper before applying them to your nails.
Keep your tools clean to ensure crisp lines and vibrant color application.