Design Details
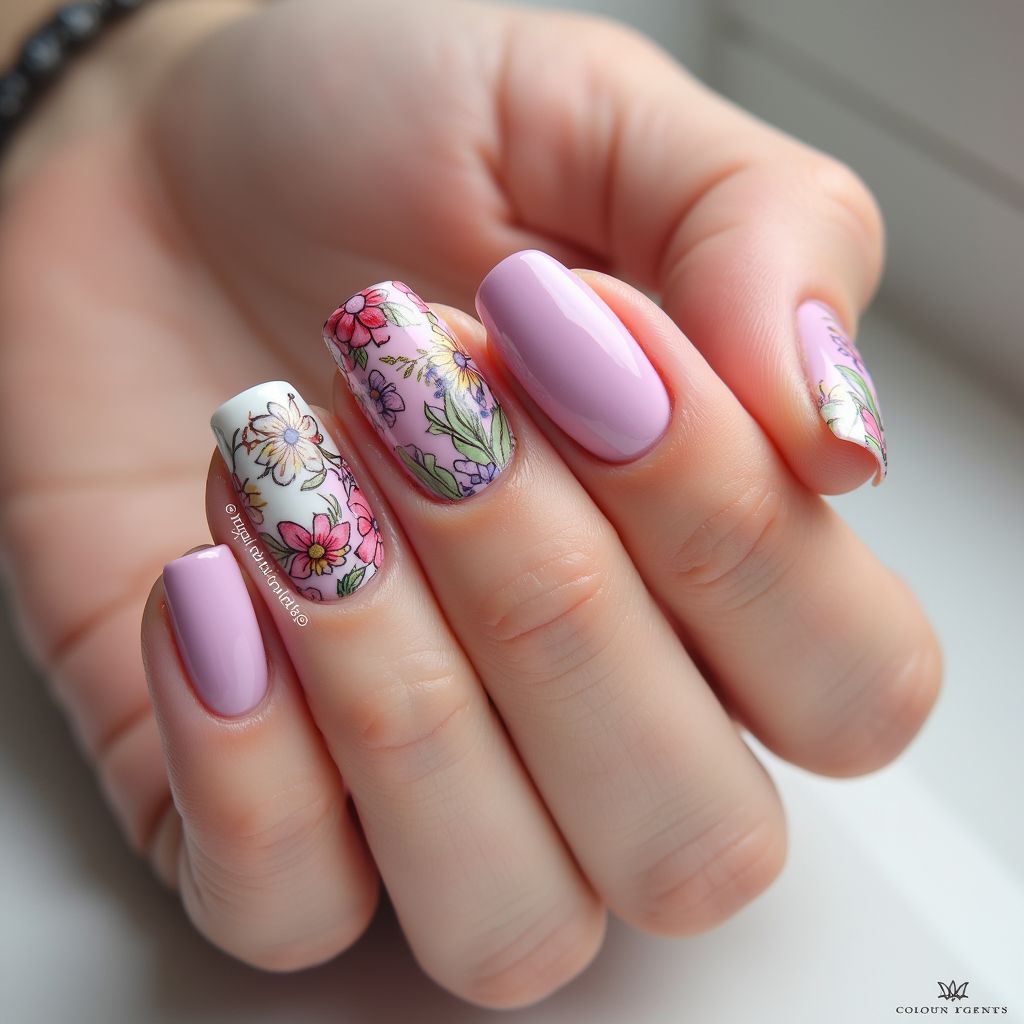
- 1This nail art design features a delicate floral pattern combined with solid pastel colors for a fresh, spring-like look.
- 2The design includes a mix of full floral nail art on some nails and solid color on others, creating a balanced and visually appealing arrangement.
- 3The floral design incorporates soft pinks, yellows, greens, and purples over a white or pale pink background, while the solid nails are painted with a complementary pastel purple.
- 4This design is perfect for those who enjoy detailed nail art but also appreciate the simplicity of a solid color manicure.
Items Needed for this Design
Nail Preparation
- Nail file
- Cuticle pusher
- Cuticle nipper
- Base coat
Nail Polish Colors
- Pastel purple nail polish
- White nail polish
- Light pink nail polish
- Yellow nail polish
- Green nail polish
- Purple nail polish
- Darker pink nail polish
Nail Art Tools
- Fine detail nail art brush set
- Dotting tool or toothpick (optional)
- Nail art stamper and scraper (alternative to hand-painting flowers)
Cleanup
- Nail polish remover
- Small brush for cleanup
- Top coat
Step by Step DIY(Do It Yourself) Guide
1
Prepare your nails
- File your nails to your desired shape.
- Gently push back your cuticles and trim any excess cuticle skin.
- Apply a base coat to protect your natural nails and provide a smooth surface for the polish.
2
Apply base color
- On two nails, apply two coats of the pastel purple nail polish, allowing each coat to dry completely before applying the next.
- On the remaining nails, apply two coats of white nail polish or a very light pink color as the base for the floral design; let it dry completely.
3
Create the floral design
- Using a fine detail brush, create small flowers with light pink, darker pink, yellow, and purple nail polish on the nails with the white/light pink base.
- Add green leaves using the green nail polish. Vary the size and placement of the flowers and leaves for a more natural look.
- Alternatively, use nail art stamping plates with a floral design to stamp the image onto the nails after applying the white/light pink base coat.
4
Clean up any mistakes
- Dip a small brush into nail polish remover and carefully clean up any polish on your skin around the nails.
5
Apply top coat
- Once the design is completely dry, apply a generous layer of top coat to seal the design and add shine.
- Allow the top coat to dry completely.
Pro Tips
For beginners, consider using nail stickers or decals with a floral pattern instead of hand-painting for easier application.
Make sure each layer of polish is completely dry before applying the next to prevent smudging and ensure a smooth finish.
Use a thin brush and steady hand to create the delicate floral details, and don't be afraid to practice on a piece of paper first.
To prolong the life of your manicure, apply a top coat every other day.