Design Details
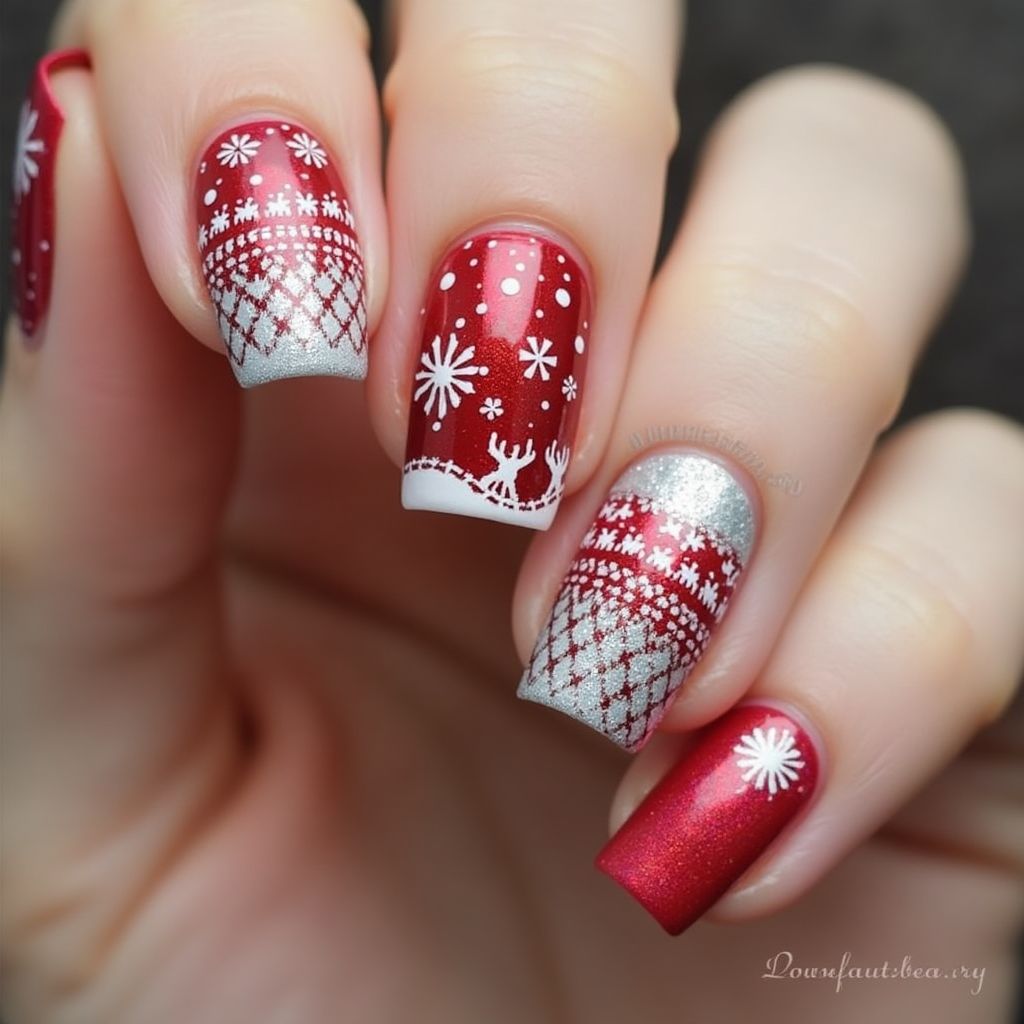
- 1This nail design features a festive Christmas theme with a combination of rich red and silver colors.
- 2The design includes intricate white patterns such as snowflakes, reindeer, and knit-like textures that enhance its holiday charm.
- 3The nails are accented with a glossy top coat to give a sleek finish, while the designs vary in placement across different nails for an engaging look.
Items Needed for this Design
Nail Preparation
- Nail file
- Cuticle pusher
- Base coat
- Top coat
Nail Polish Colors
- Red nail polish
- Silver nail polish
- White nail polish
Nail Art Tools
- Nail stamping plate or nail stickers
- Dotting tool or brush for detailed designs
Cleanup
- Nail polish remover
- Q-tips or small brushes
Step by Step DIY(Do It Yourself) Guide
1
Prepare your nails.
- Clean and shape your nails using a nail file.
- Push back cuticles gently to create a neat base.
2
Apply base coat.
- Apply a thin layer of base coat on each nail and allow it to dry completely.
3
Apply red nail polish.
- Paint the majority of your nails with red nail polish, allowing each coat to dry before adding a second coat for depth.
4
Add silver accents.
- Paint the tips of a few nails with silver nail polish to create a French tip accent.
- Use silver polish to create decorative patterns on other nails if desired.
5
Stamp or paint designs.
- Using a stamping plate or stickers, add white snowflakes, reindeer, and knit patterns on the red nails.
- Ensure designs are evenly spaced and clearly defined.
6
Finish with top coat.
- Apply a layer of top coat to seal the design and add shine.
- Allow it to dry fully for a long-lasting finish.
Pro Tips
Make sure to work in well-lit conditions for better visibility and precision.
Use a small brush for detailed designs to enhance accuracy.
Let each layer dry completely to avoid smudging the designs.
Practice on a nail wheel before applying designs to your nails for more confidence.