
Design Details
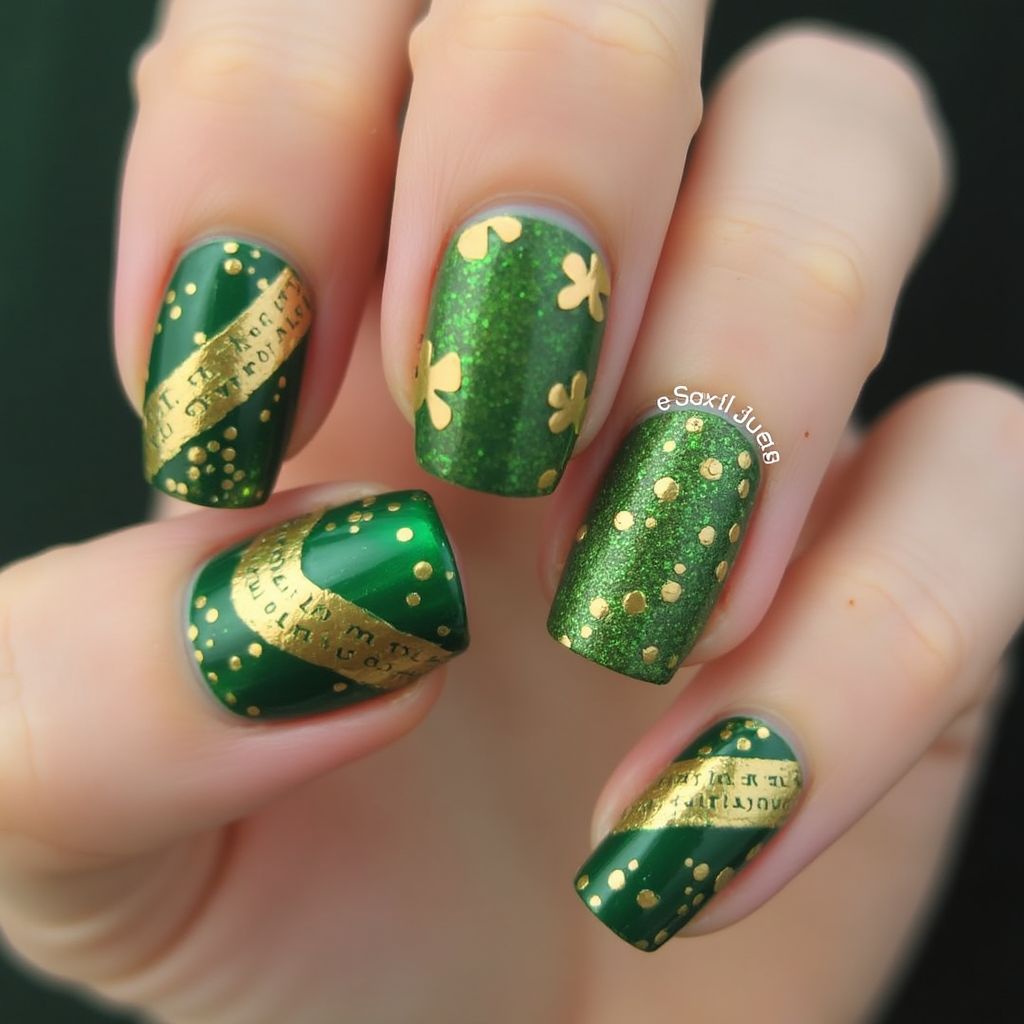
- 1This nail design features a vibrant green base with a mix of glitters and bold gold accents.
- 2Patterns include gold stripes, shamrocks, and dotted elements that create an eye-catching festive look.
- 3The design uses various shades of green to provide depth and contrast, making it perfect for a celebration.
Items Needed for this Design
Nail Preparation
- Nail file
- Cuticle pusher
- Base coat
- Top coat
Nail Polish Colors
- Dark green nail polish
- Light green glitter polish
- Gold nail polish
Nail Art Tools
- Dotting tool
- Nail brush
- Striping tape or thin brush for stripes
Cleanup
- Nail polish remover
- Cotton pads
Step by Step DIY(Do It Yourself) Guide
1
Prep your nails
- File your nails to your desired shape.
- Push back cuticles gently.
- Apply a base coat for protection.
2
Apply base color
- Paint each nail with dark green nail polish.
- Allow it to dry completely.
3
Add glitter and patterns
- Apply a layer of light green glitter polish on selected nails.
- Use a dotting tool to create gold dots on the glitter base.
- Paint shamrock shapes using a small brush or dotting tool in gold nail polish.
4
Create stripes
- Use striping tape or a thin brush to add gold stripes on some nails.
- Ensure the stripes are even and let them dry.
5
Finish with a top coat
- Once all designs are complete and dry, apply a top coat to seal the design.
- Clean up any excess polish around the nails with nail polish remover and a cotton pad.
Pro Tips
Ensure each layer is dry before applying the next to avoid smudging.
Practice on a nail wheel or a paper before applying directly to your nails.
Consider using a quick-dry top coat for faster results.