Design Details
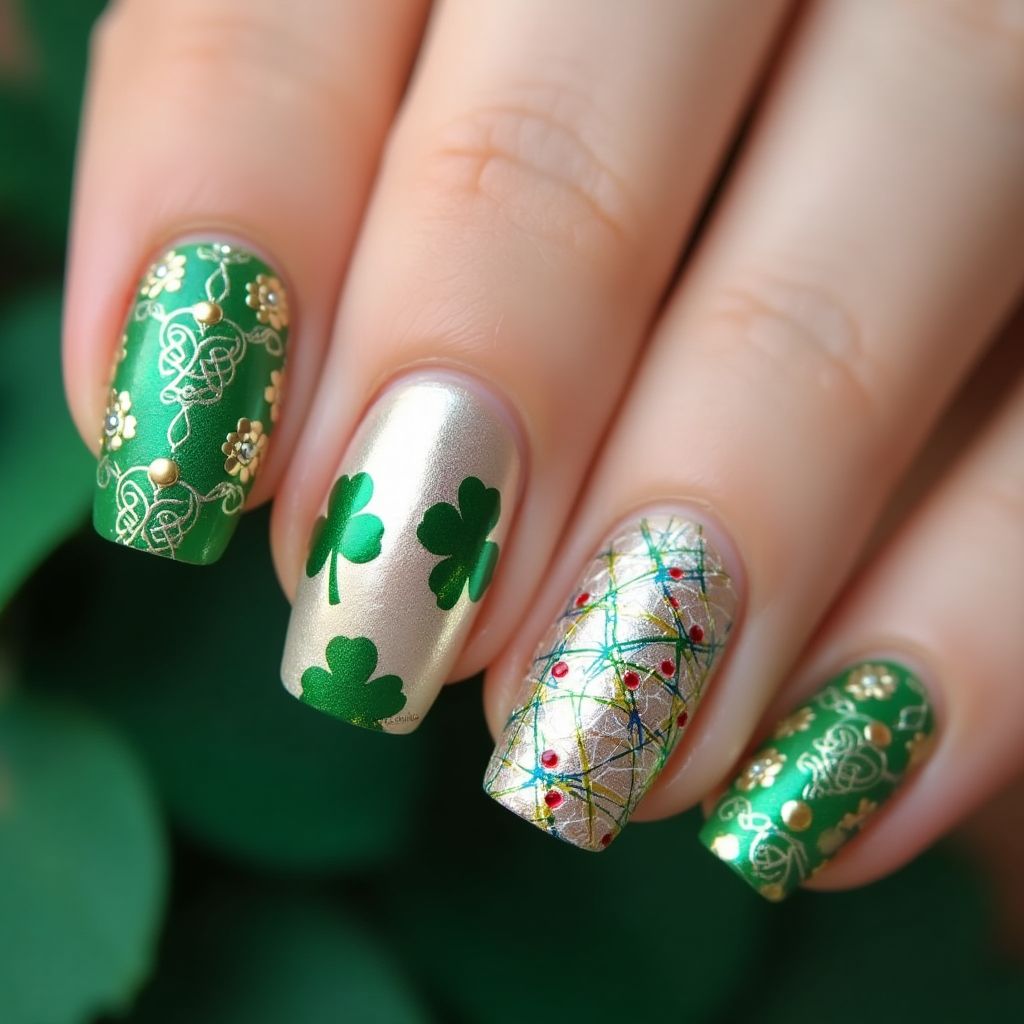
- 1This nail design features a vibrant green color palette, celebrating a festive theme, likely inspired by St. Patrick's Day.
- 2The design incorporates a mix of patterns including floral decorations, shamrocks, and a crisscross pattern with embellishments such as gold dots and red beads.
- 3The use of gold accents on the green base creates a striking contrast, enhancing the overall visual appeal of the nails.
- 4Each nail presents a unique design while maintaining harmony through color and decorative elements, making it fun and festive.
Items Needed for this Design
Nail Preparation
- Nail file
- Nail buffer
- Cuticle oil
- Base coat
Nail Polish Colors
- Dark green nail polish
- Light green nail polish
- Gold nail polish
- Metallic gold nail polish
- Clear top coat
Nail Art Tools
- Dotting tool
- Nail art brush
- Stamper (if using stamping plates)
- Nail art tape
Cleanup
- Nail polish remover
- Cotton pads
- Brush for clean-up
Step by Step DIY(Do It Yourself) Guide
1
Prepare the nails.
- File and shape the nails to your desired length.
- Buff the surface of the nails to ensure smooth application.
- Apply cuticle oil around the nail bed to maintain healthy skin.
- Finish with a base coat for protection.
2
Apply the base color.
- Paint all nails with dark green polish, allowing it to dry thoroughly.
- On the ring finger, apply a coat of metallic gold polish as the base color.
3
Create the design.
- Using the dotting tool, add shamrocks on the gold-painted nail.
- On another green nail, use the nail art brush to create floral patterns with gold polish.
- For the crisscross pattern, use nail art tape to outline and fill with alternating colors and embellishments.
4
Add finishing touches.
- Once all designs are dry, apply a clear top coat for glossy protection.
- Add small red beads or gems to strategic points on the design for extra sparkle.
5
Clean up.
- Use a brush dipped in nail polish remover to clean any excess polish around the nails.
- Ensure the area around each nail is tidy before presenting.
Pro Tips
Take your time with each applied layer to ensure even drying.
When using nail art tape, press down firmly to avoid polish bleeding underneath.
Experiment with different embellishments to personalize the design further.
If new to nail art, practice designs on a plastic nail wheel first.