Design Details
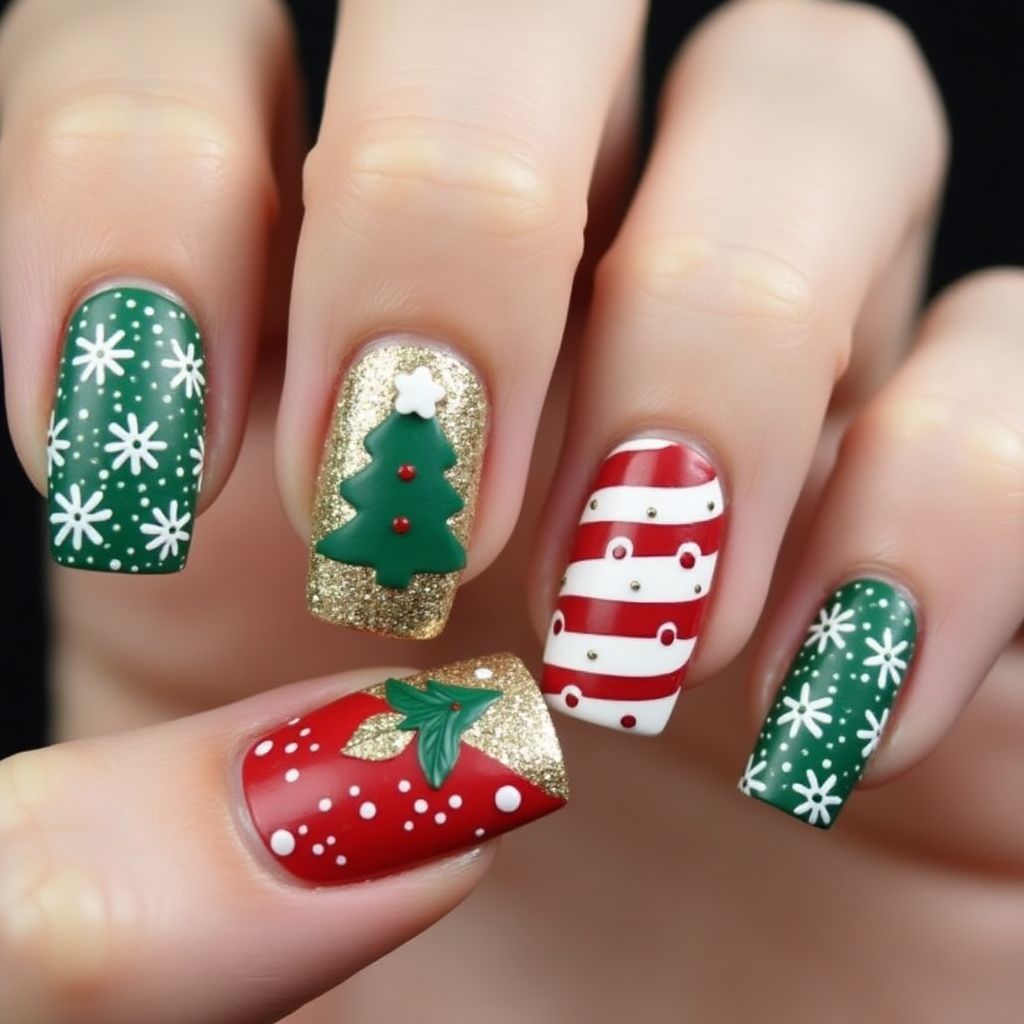
- 1This festive nail design features a variety of Christmas-themed elements, including snowflakes, Christmas trees, and ornaments.
- 2The color palette consists of deep greens, bright reds, and sparkling gold that evoke a holiday spirit.
- 3Each finger is uniquely designed, with some nails showcasing detailed patterns while others maintain a simpler look, ensuring a cohesive festive effect.
Items Needed for this Design
Nail Preparation
- Nail file
- Nail buffer
- Base coat
- Top coat
Nail Polish Colors
- Dark green
- Bright red
- Gold glitter
- White
Nail Art Tools
- Detailing brush
- Dotting tool
- Nail stickers (Christmas tree, ornaments)
- Palette or mixing plate
Cleanup
- Acetone or nail polish remover
- Cotton pads or swabs
Step by Step DIY(Do It Yourself) Guide
1
Prepare the nails
- Trim and file nails to the desired shape.
- Buff the surface of each nail to smoothen it.
- Apply a base coat for protection and a smooth finish.
2
Apply the base color
- Paint the majority of nails dark green.
- Use bright red for one or two accent nails.
- Allow the base colors to dry completely.
3
Add nail art designs
- For the green nails, use a detailing brush to paint snowflakes with white polish.
- On the red nail, use a dotting tool to create white dots or embellishments.
- Apply gold glitter polish on one nail and add nail stickers of a Christmas tree and ornaments.
4
Finish with top coat
- Once all designs are dry, apply a top coat to seal the design and add shine.
- Ensure even coverage to protect intricate designs.
- Allow the nails to dry completely.
Pro Tips
Work in thin layers to avoid smudging designs.
Use a quick-dry top coat for faster results.
If using stickers, ensure they are well-adhered before applying top coat.