Wine Water Marbling Nail Design
Elegant Wine Water Marbling: A Chic Blend of Rich Hues and Artistic Fluidity
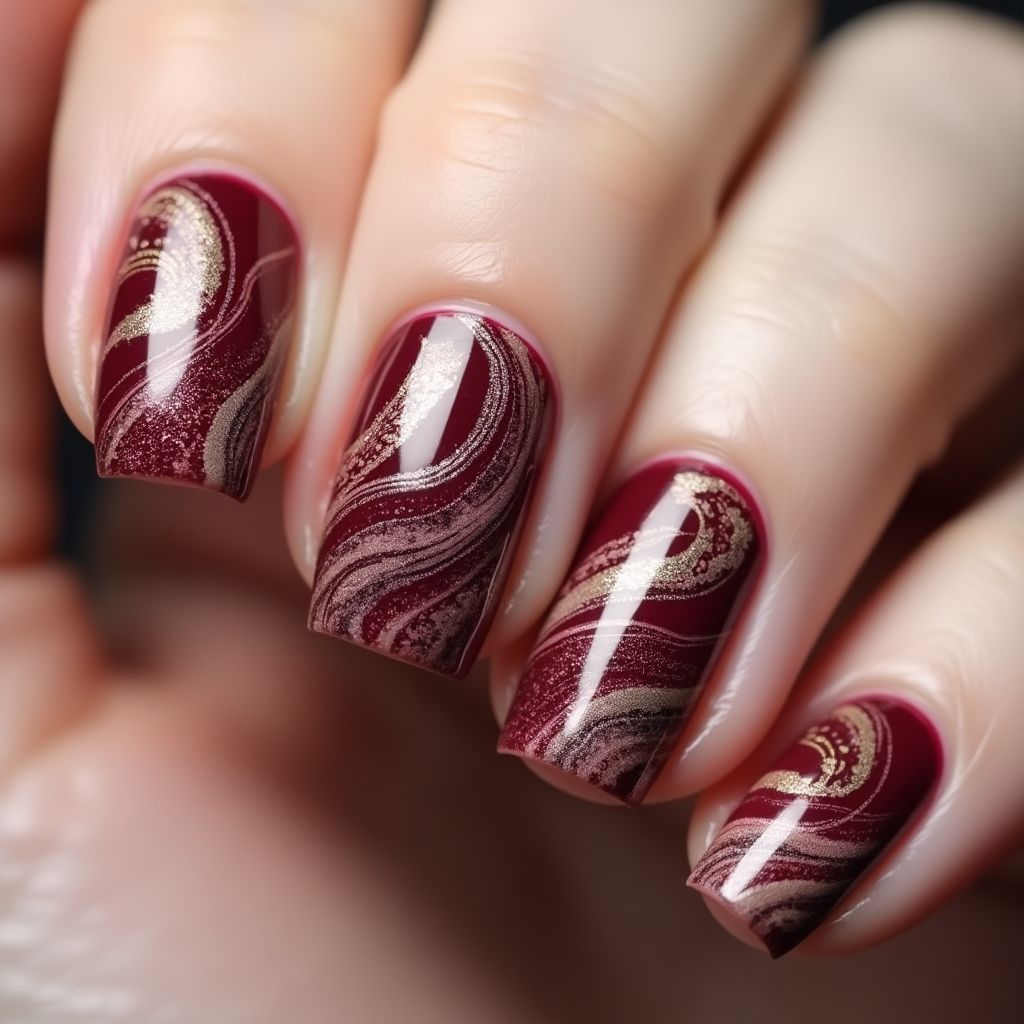
Design Details
- 1The design features a rich burgundy base with swirling gold accents that create a marbled effect.
- 2The gradient effect of the gold and burgundy gives the nails a luxurious and sophisticated look.
- 3The use of contrasting colors adds depth and visual interest to the overall nail design.
- 4This design is suitable for special occasions or a stylish everyday look.
Items Needed for this Design
Nail Preparation
- Nail file
- Cuticle pusher
- Base coat
- Top coat
Nail Polish Colors
- Burgundy nail polish
- Gold nail polish
Nail Art Tools
- Dotting tool
- Nail art brush
- Water for marbling technique
Cleanup
- Nail polish remover
- Cotton pads
Step by Step DIY(Do It Yourself) Guide
1
Prepare your nails.
- File and shape your nails to your desired length.
- Push back the cuticles for a clean look.
- Apply a base coat to protect your nails.
2
Apply the base color.
- Paint each nail with two coats of burgundy nail polish, allowing it to dry between coats.
- Ensure even coverage without streaks.
3
Create the marbled effect.
- Pour a small amount of gold polish into a shallow dish of water.
- Using a dotting tool or a nail art brush, swirl the gold polish gently to create patterns.
- Dip your finger into the water, so the marbled design sticks to your nail.
4
Finish the design.
- Remove excess polish from around your nails using a cotton pad and nail polish remover.
- Apply a top coat to seal the design and add shine.
- Allow your nails to dry completely.
Pro Tips
Work quickly when dipping nails to prevent the polish from drying.
If you make a mistake, you can always wipe it off with remover and try again.
Practice the marbling technique on a piece of paper before attempting it on your nails.
Consider using a matte top coat for a different finish.