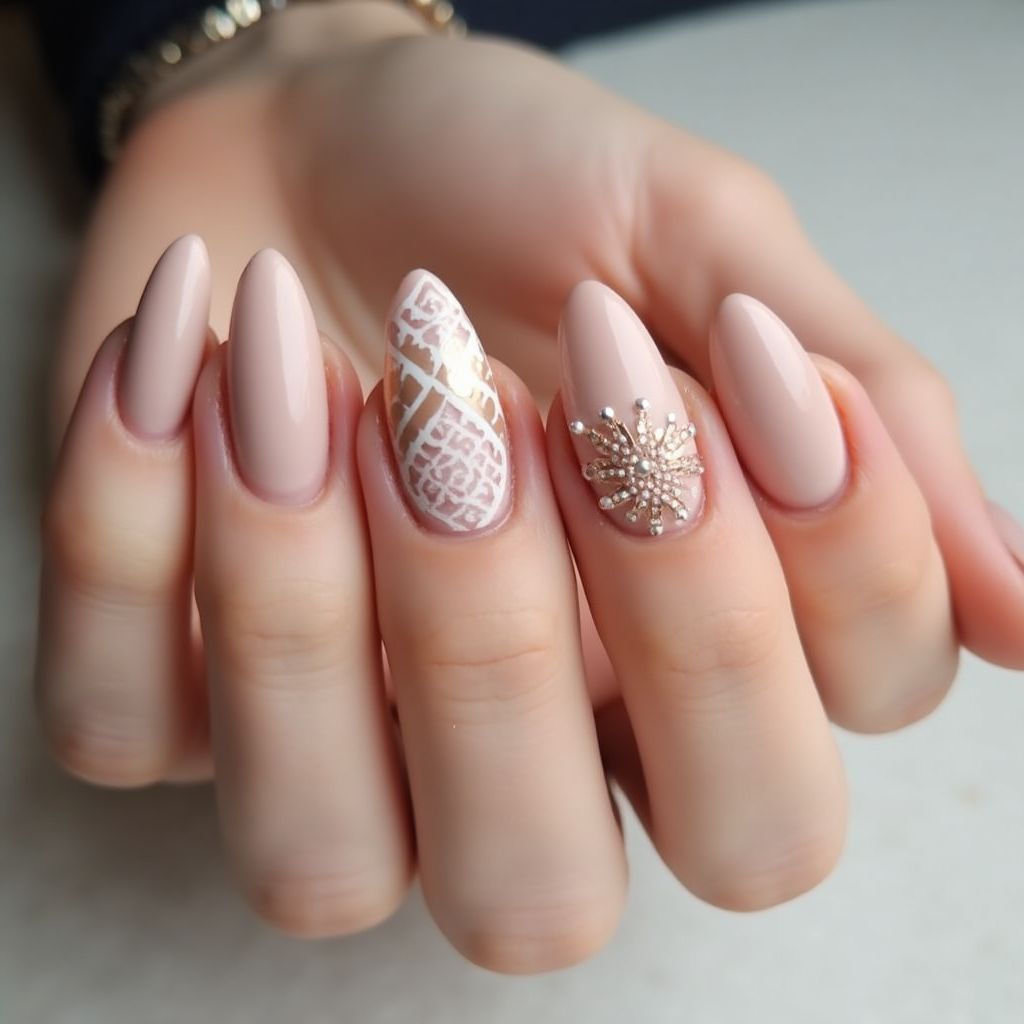
Design Details
- 1This nail design features a chic neutral color palette with a matte finish.
- 2The design includes three glossy nude nails and two accent nails with intricate artwork.
- 3One accent nail showcases a delicate white geometric pattern on a soft pink background, while the other is embellished with a shiny rhinestone design.
- 4The overall look is elegant and perfect for any occasion, balancing simplicity with eye-catching details.
Items Needed for this Design
Nail Preparation
- Nail file
- Nail buffer
- Base coat
- Top coat
Nail Polish Colors
- Nude nail polish
- Soft pink nail polish
- White nail polish
- Gold or metallic polish
Nail Art Tools
- Detailing brush
- Dotting tool
- Nail art rhinestones
- Tweezers for rhinestones
Cleanup
- Nail polish remover
- Cotton pads
- Cleanup brush for precision
Step by Step DIY(Do It Yourself) Guide
1
Prep your nails.
- File and shape your nails to the desired length.
- Buff the surface of your nails for better polish adherence.
- Apply a base coat to protect your nails.
2
Apply the base color.
- Paint three nails with nude nail polish and let dry.
- On two accent nails, apply soft pink nail polish and let dry completely.
3
Create the geometric design.
- Using a detailing brush, paint a white geometric pattern on one of the accent nails.
- Allow the design to dry before moving on to the next step.
4
Add rhinestones.
- Using tweezers, carefully place rhinestones on the second accent nail in your desired pattern.
- Ensure they are securely adhered before proceeding.
5
Finish with top coat.
- Apply a top coat over all nails to seal the design and add shine.
- Let the top coat dry completely to avoid smudges.
Pro Tips
Ensure your nails are clean and free of oils before applying polish for better adherence.
Practice the geometric design on a practice sheet if you're unsure before applying it to your nails.
Use a small amount of top coat to avoid flooding the rhinestones for a clear view of the design.
Consider using nail tape for cleaner lines in your geometric pattern.