Design Details
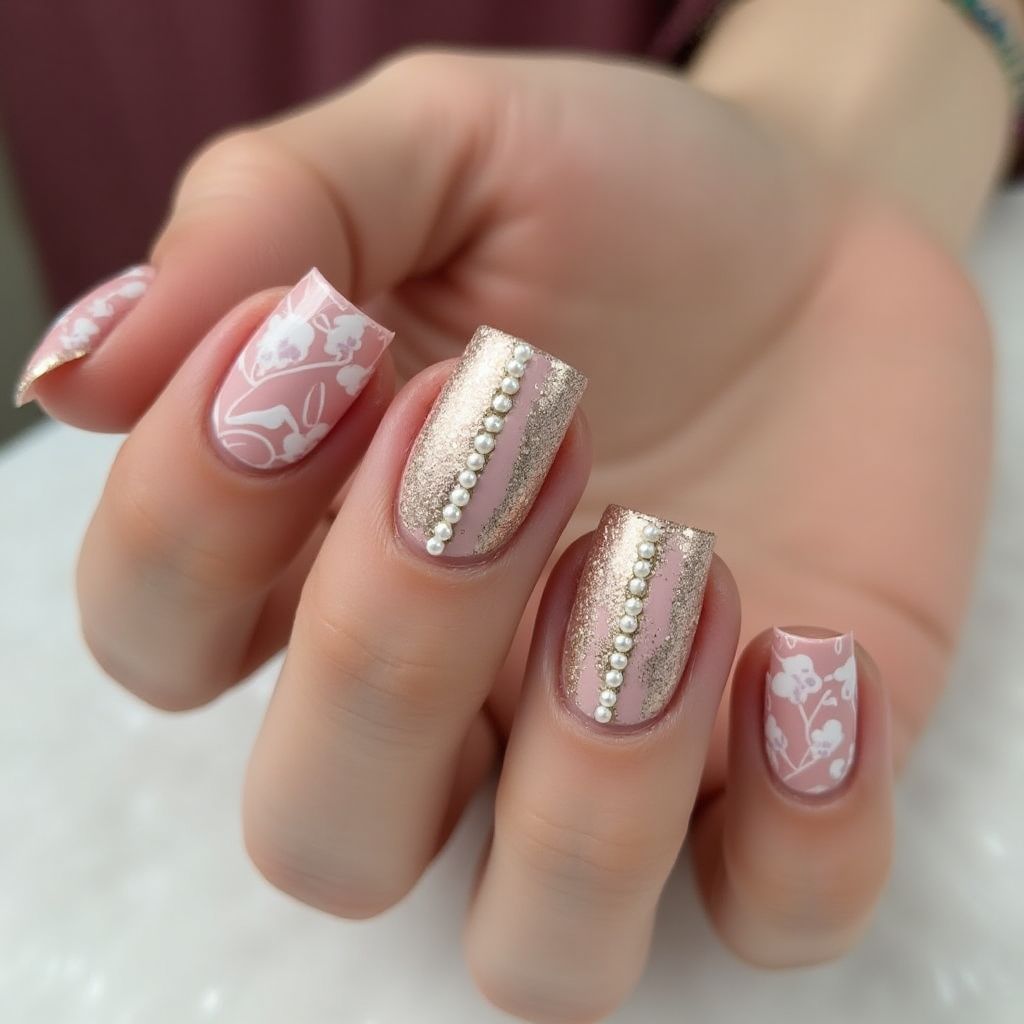
- 1The nail design features a combination of soft pink and gold tones with intricate floral patterns.
- 2Two nails display a delicate white floral design on a pink base, while the other three showcase a glossy gold and pink stripe with pearl embellishments.
- 3The overall look is elegant and sophisticated, making it suitable for special occasions or everyday wear.
Items Needed for this Design
Nail Preparation
- Nail file
- Cuticle remover
- Base coat
Nail Polish Colors
- Light pink nail polish
- Gold glitter nail polish
- White nail polish for floral design
- Top coat
Nail Art Tools
- Dotting tool or fine brush for floral details
- Nail striping tape
- Pearl embellishments
Cleanup
- Nail polish remover
- Cotton pads
Step by Step DIY(Do It Yourself) Guide
1
Prepare the nails
- File the nails to the desired shape.
- Apply cuticle remover and gently push back cuticles.
- Finish with a base coat to protect the nails.
2
Apply the base colors
- Paint the first two nails with light pink nail polish for the floral design.
- Paint the other three nails with a mix of light pink and gold glitter polish, leaving the center of the nail clear for patterns.
3
Create floral designs
- Use white nail polish and a dotting tool or fine brush to create floral patterns on the pink nails.
- Allow the design to dry completely.
4
Add embellishments
- Apply striping tape down the center of the pink and gold nails.
- Adhere pearl embellishments along the tape for a decorative effect.
5
Finish with top coat
- Once all elements are dry, apply a top coat to seal the design and add shine.
- Let the nails dry completely before using your hands.
Pro Tips
Ensure each layer is dry before applying the next to prevent smudging.
Use a small brush for precision when applying floral designs.
If you're new to nail art, practice your designs on a practice wheel before applying them to your nails.