Design Details
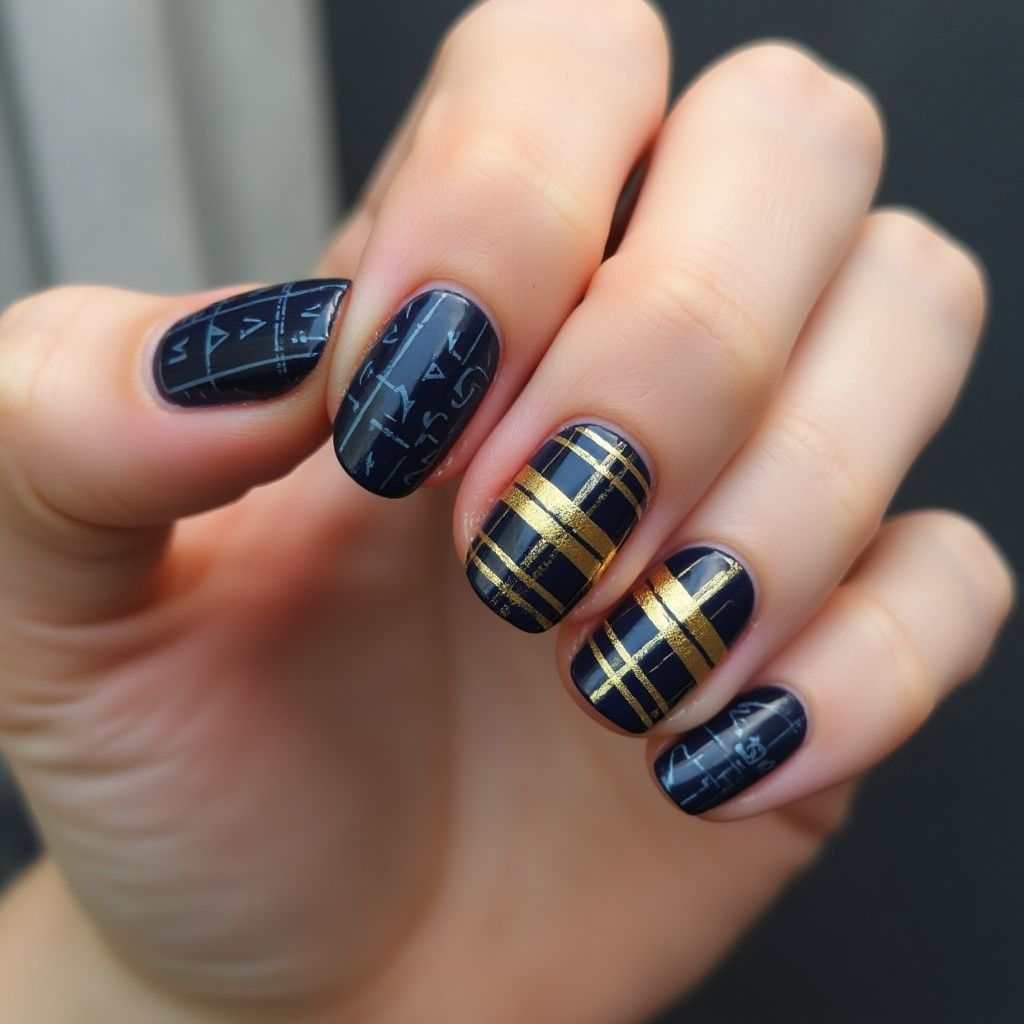
- 1This nail design features a dark navy base with intricate gold accents.
- 2The design incorporates geometric patterns, with some nails displaying gold lines forming a grid and others showcasing stylized text or symbols in silver.
- 3The combination of dark and metallic colors gives this design a modern, sophisticated look.
Items Needed for this Design
Nail Preparation
- Nail polish remover
- Base coat
- Top coat
Nail Polish Colors
- Dark navy polish
- Metallic gold polish
- Metallic silver polish
Nail Art Tools
- Nail art brush
- Striping tape
- Dotting tool
Cleanup
- Cotton pads
- Acetone or nail polish remover
Step by Step DIY(Do It Yourself) Guide
1
Prepare the nails
- Remove old polish using nail polish remover.
- File and shape nails as desired.
- Clean the nails with a cotton pad using acetone.
2
Apply base coat
- Apply a thin layer of base coat to each nail.
- Allow it to dry completely before proceeding.
3
Paint the base color
- Apply two coats of dark navy polish, allowing each coat to dry.
- Ensure even coverage and finish at the nail tips.
4
Create geometric patterns
- Use striping tape to create grid lines on desired nails.
- Paint over the tape with metallic gold polish and remove the tape while wet.
- For text or symbol patterns, use a nail art brush to paint in metallic silver.
5
Apply top coat
- Once the designs are completely dry, apply a top coat to seal and protect the design.
- Allow the top coat to dry thoroughly.
6
Clean up
- Use a cleanup brush or a small detail brush dipped in acetone to remove excess polish from the skin around the nails.
- Finish by moisturizing your hands and cuticles.
Pro Tips
Always work in a well-lit area for precision.
If you're unsure about using striping tape, practice on a piece of paper first.
Let each layer dry thoroughly to avoid smudging your design.
For a more intricate design, consider using a stencil.