Design Details
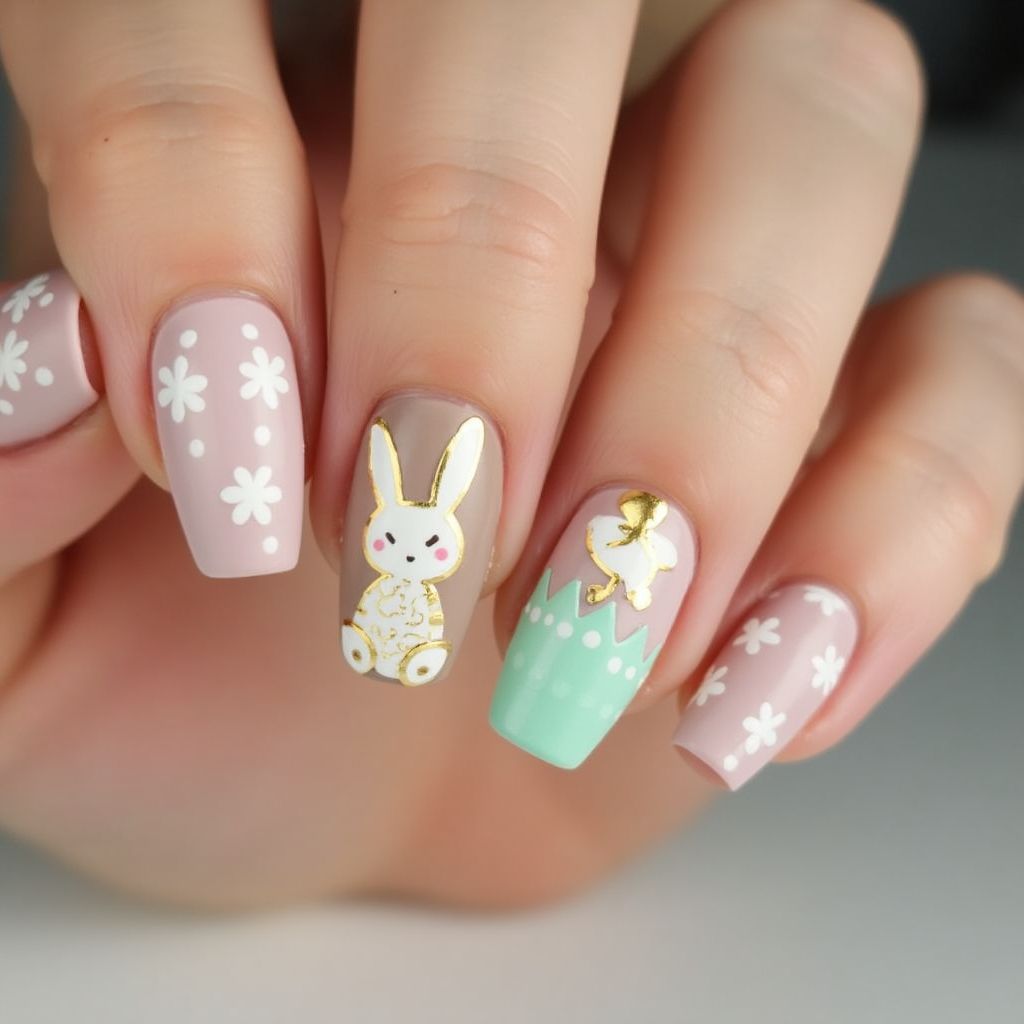
- 1The design features a playful color palette with soft pastel shades of pink and mint green.
- 2Each nail is adorned with charming floral patterns and a cute rabbit illustration, adding a whimsical touch.
- 3Gold accents enhance the overall look, providing a touch of elegance alongside the playful elements.
Items Needed for this Design
Nail Preparation
- Nail file
- Cuticle pusher
- Base coat
- Top coat
Nail Polish Colors
- Light pink
- Mint green
- White
- Gold (for details)
Nail Art Tools
- Detailing brush
- Dotting tool
- Fine line brush
Cleanup
- Nail polish remover
- Cotton balls or pads
Step by Step DIY(Do It Yourself) Guide
1
Prepare the nails.
- File the nails to your desired shape.
- Push back the cuticles gently.
- Apply a base coat to protect the nails.
2
Apply the base colors.
- Paint the pink polish on most nails.
- For the accent nails, apply mint green polish.
3
Create floral designs.
- Using the white polish and dotting tool, create small flower patterns on the pink nails.
- Add details to flowers using the fine line brush and white polish.
4
Paint the rabbit design.
- Use a detailing brush to outline the shape of the rabbit in white on the accent nail.
- Fill in the details using the pink and gold polish for features.
5
Add finishing touches.
- Apply the mint green polish on the accent nail, creating a crown shape.
- Add gold detailing wherever necessary for an elegant finish.
6
Seal the design.
- Allow the design to dry completely.
- Apply a top coat to protect the design and add shine.
Pro Tips
Work in thin layers to avoid smudging and achieve a smoother finish.
Use a clean brush for each color to prevent mixing on the palette.
Practice the designs on a nail wheel before applying to your nails.
Always allow each layer to dry completely before applying the next.