Design Details
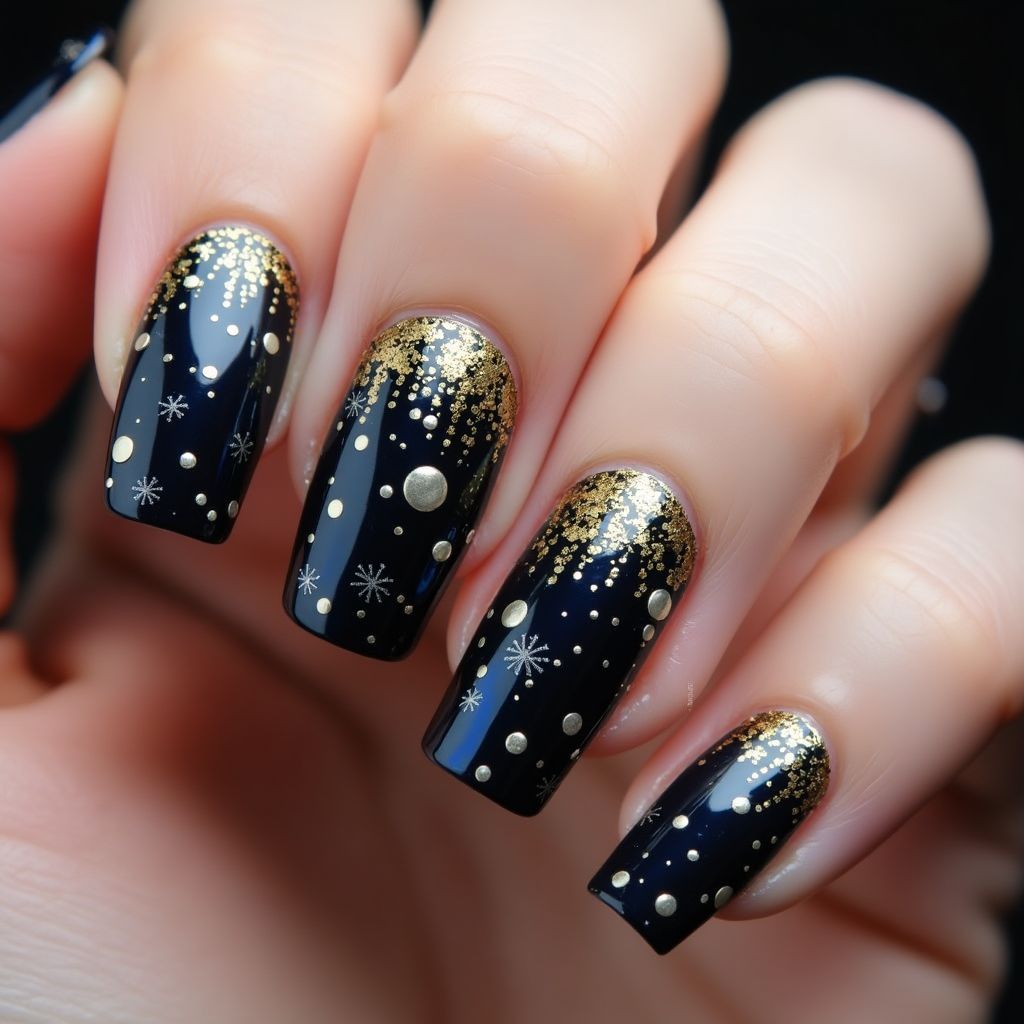
- 1The nail design features a deep, glossy black base that sets a dramatic background.
- 2Gold glitter gradients from the cuticle area, creating an eye-catching contrast.
- 3Silver and gold snowflake and dot embellishments are distributed across the nails, adding a festive and luxurious touch.
- 4The combination of black, gold, and silver creates a glamorous and sophisticated look ideal for evening events.
Items Needed for this Design
Nail Preparation
- Nail file
- Cuticle pusher
- Nail buffer
- Base coat
Nail Polish Colors
- Black nail polish
- Gold glitter polish
Nail Art Tools
- Dotting tool
- Fine nail art brush
- Gold and silver nail art stickers or stamps
Cleanup
- Cotton swabs
- Nail polish remover
Step by Step DIY(Do It Yourself) Guide
1
Prepare Your Nails
- File and shape your nails to the desired length.
- Gently push back your cuticles with a cuticle pusher.
- Buff the surface of your nails to ensure the polish adheres well.
- Apply a base coat to protect your natural nails.
2
Apply Base Color
- Apply two coats of black nail polish, allowing each coat to dry thoroughly.
3
Add Gold Glitter Gradient
- Use a fine nail art brush to apply gold glitter polish starting from the cuticle and gently blending towards the middle of the nail to create a gradient effect.
4
Apply Nail Art Embellishments
- Use a dotting tool to add small dots of gold and silver polish for additional sparkle.
- If using stickers or stamps, carefully place gold and silver snowflakes on the nails.
5
Seal the Design
- Once all your designs are dry, apply a glossy top coat to seal and add shine to your manicure.
6
Clean Up Edges
- Use a cotton swab dipped in nail polish remover to clean any excess polish around the nails.
Pro Tips
Ensure each layer is completely dry before applying the next to avoid smudging.
Experiment with the placement of glitter and stickers to create a personalized look.
For added durability, consider using gel polish with a UV lamp.
If using stickers, press them firmly on the nail to prevent lifting before applying the top coat.