Design Details
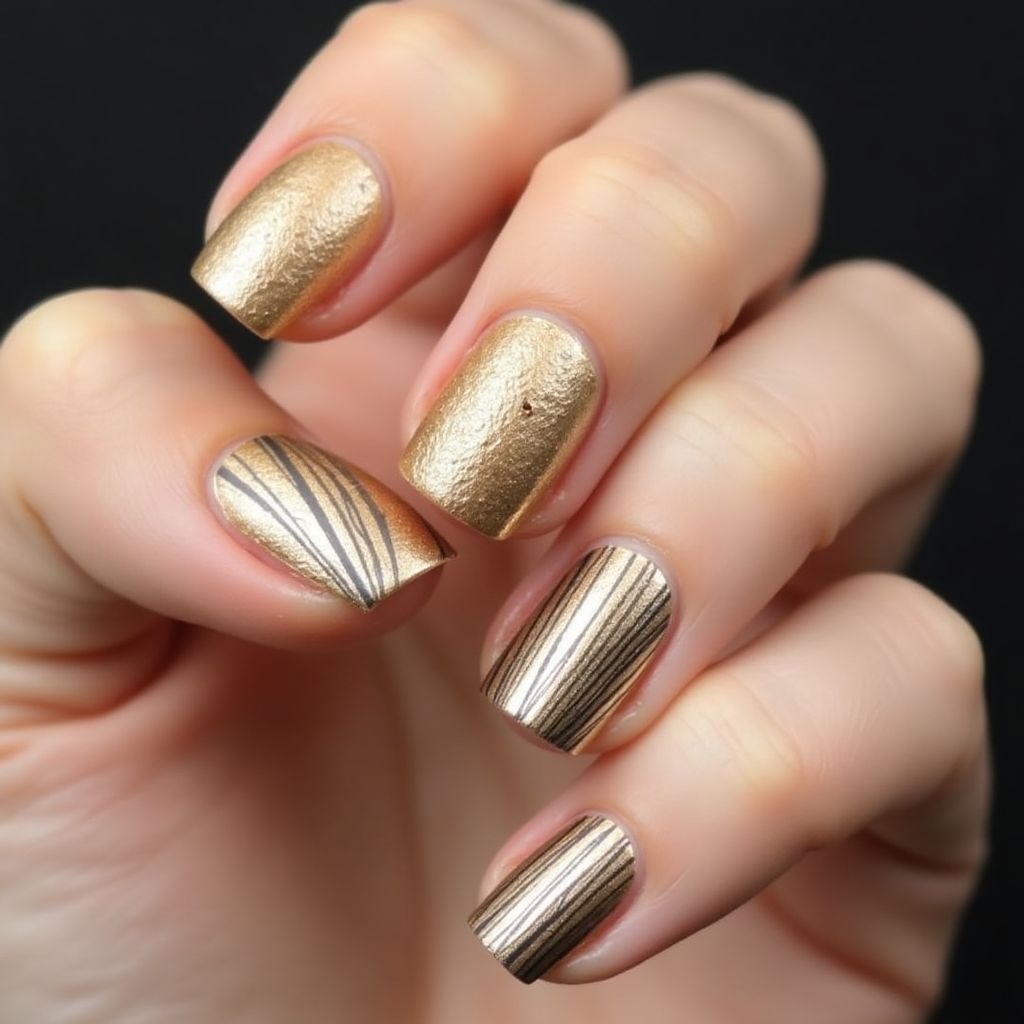
- 1The nail design features a stunning metallic gold finish with a mix of textures and patterns.
- 2Three nails are adorned with a smooth metallic gold, while the fourth nail features stylish black linear designs.
- 3The alternating textures create a visually appealing contrast, making the design both chic and modern.
Items Needed for this Design
Nail Preparation
- Nail file
- Nail buffer
- Cuticle oil
- Base coat
Nail Polish Colors
- Metallic gold nail polish
- Black nail polish
Nail Art Tools
- Thin nail art brush or striping tape
- Dotting tool (optional)
Cleanup
- Nail polish remover
- Cotton balls or pads
- Q-tips
Step by Step DIY(Do It Yourself) Guide
1
Prepare your nails.
- File and shape your nails to your desired length.
- Buff the surface of your nails for a smooth finish.
- Apply cuticle oil around your nail beds and push back cuticles gently.
2
Apply the base coat.
- Apply a thin layer of base coat to all nails.
- Allow the base coat to dry completely.
3
Paint the metallic gold base.
- Apply two coats of metallic gold nail polish to three nails.
- Allow each coat to dry thoroughly before applying the next.
4
Create the nail art design.
- On the fourth nail, use a thin nail art brush to draw black lines.
- You can create curved or straight lines based on your preference.
- Alternatively, use striping tape to achieve clean lines.
5
Finish with top coat.
- Once the designs have dried, apply a top coat to all nails.
- Ensure the top coat is applied evenly for extra shine and protection.
6
Cleanup.
- Use nail polish remover and a Q-tip to clean any excess polish around your nails.
- Allow your nails to dry completely.
Pro Tips
Ensure each layer of polish is completely dry before applying the next to avoid smudges.
Practice drawing the lines on a piece of paper before applying them on your nails for better control.
Use a quick-dry top coat if you are short on time.