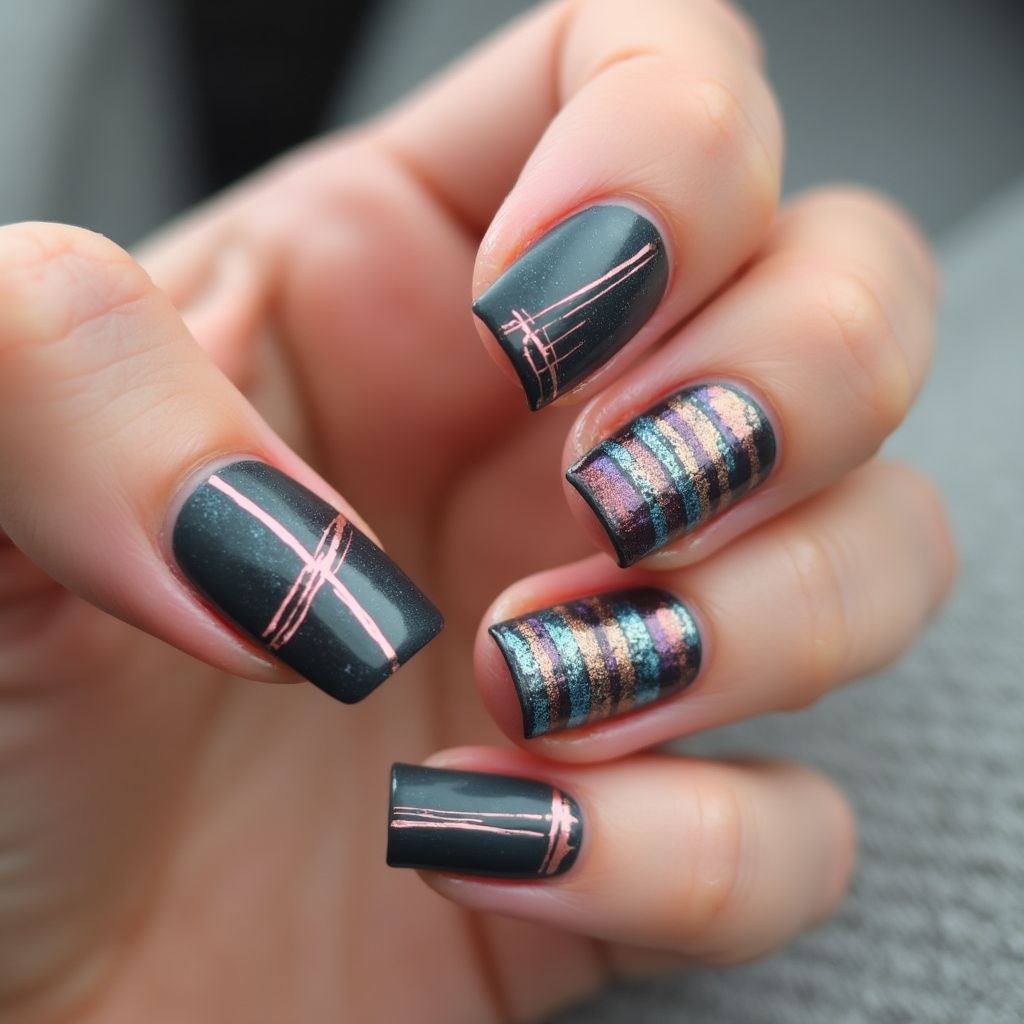
Chrome Powder Stripes And Lines Nail Design
Elevate Your Look with Bold Chrome Stripes and Geometric Patterns for Stunning Nails

Design Details
- 1The design features a matte black base with a stylish combination of vertical and horizontal stripes in metallic shades.
- 2One hand showcases two nails with delicate rose gold stripes, while the others feature multicolored horizontal lines including teal, bronze, and rose.
- 3The use of contrasting matte and shiny finishes provides a striking visual interest and modern touch.
Items Needed for this Design
Nail Preparation
- Nail file
- Buffer
- Nail polish remover
- Cuticle oil
Nail Polish Colors
- Matte black polish
- Rose gold metallic polish
- Teal metallic polish
- Bronze metallic polish
Nail Art Tools
- Striping brush
- Dotting tool
- Nail tape (optional)
Cleanup
- Cotton pads
- Nail polish remover
Step by Step DIY(Do It Yourself) Guide
1
Prepare your nails.
- File and shape your nails to your desired length.
- Buff the surface to remove any shine.
- Clean nails thoroughly with nail polish remover.
2
Apply the base coat.
- Apply a base coat to protect your nails.
- Let it dry completely before moving to the next step.
3
Paint the base color.
- Apply two coats of matte black polish, allowing each coat to dry.
- Ensure even coverage for a solid black finish.
4
Create the stripe designs.
- Use a striping brush to create vertical or horizontal lines with the rose gold polish on designated nails.
- On other nails, use different metallic colors to create horizontal stripes, alternating colors.
5
Add finishing touches.
- Apply a top coat for added shine and protection on the stripe designs.
- Clean up any excess polish around the nails with a brush or cotton pad.
Pro Tips
Choose quick-drying polishes to speed up the overall process.
If you're unsure about your line work, practice on a piece of paper first.
For a neater finish, use nail tape as a guide for your stripes.