Design Details
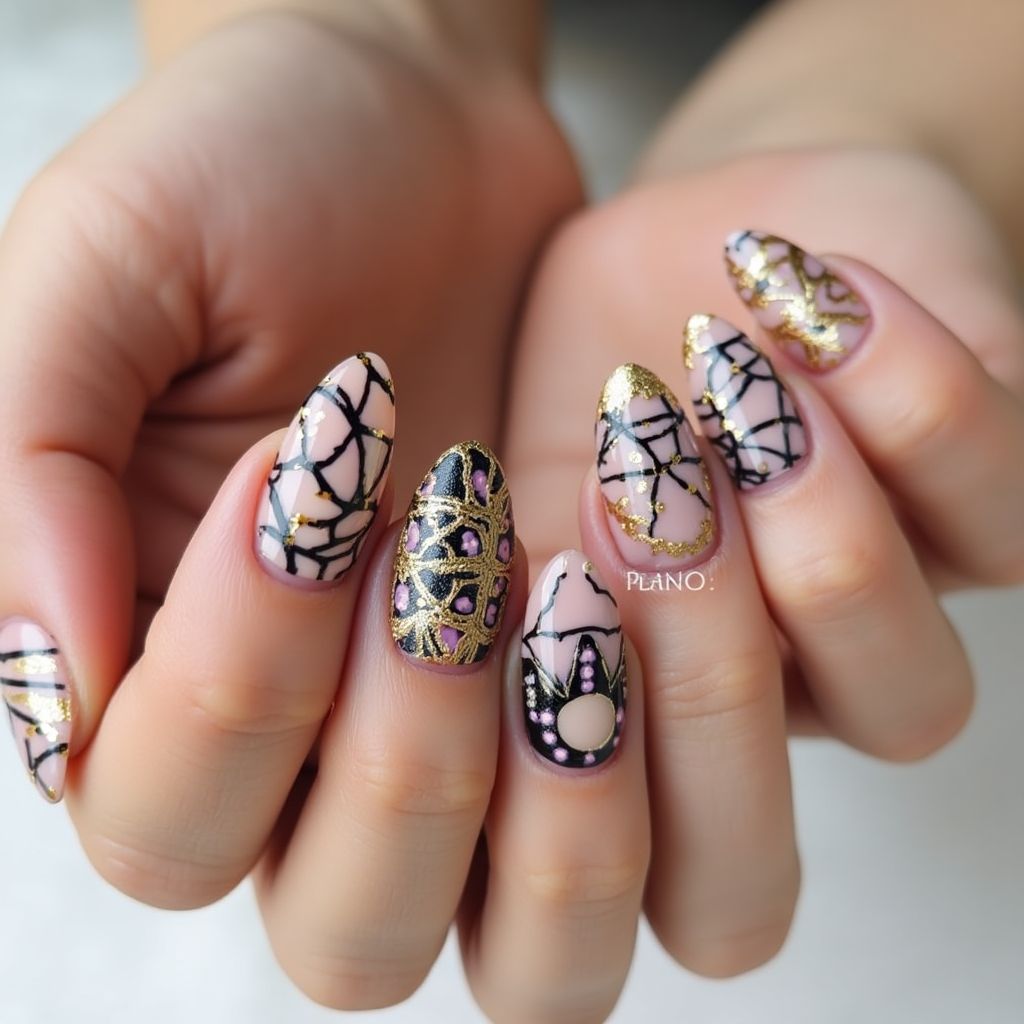
- 1This nail design features a combination of soft nude and bold black accents, creating a striking yet elegant look.
- 2Intricate geometric patterns are accentuated with gold foil and embellishments, adding a luxurious touch.
- 3A variety of shapes and designs across the nails, including negative space and multi-colored elements, keep the overall aesthetic trendy and interesting.
- 4The use of gems and distinct lines enhances the visual appeal, making this design suitable for special occasions.
Items Needed for this Design
Nail Preparation
- Nail file
- Buffer
- Cuticle pusher
- Base coat
- Top coat
Nail Polish Colors
- Nude polish
- Black polish
- Metallic gold polish
- Light pink polish
- Clear polish for gems
Nail Art Tools
- Striping brush
- Dotting tool
- Nail art gems
- Gold foil sheets
Cleanup
- Acetone or nail polish remover
- Cotton pads or q-tips
Step by Step DIY(Do It Yourself) Guide
1
Prepare the nails for the design.
- File and shape the nails to your desired length.
- Buff the surface of the nails gently to create a smooth base.
- Push back cuticles carefully to expose the nail bed.
2
Apply base coat.
- Apply a thin layer of base coat and cure or allow to dry completely.
- This will protect the natural nail and create a good foundation for color.
3
Paint the base color.
- Apply two coats of nude polish on all nails, allowing each layer to dry in between.
- Use a small brush to clean up any excess polish on the skin around the nails.
4
Create geometric patterns.
- Using a striping brush and black polish, add intersecting lines and shapes to some nails.
- Differentiate by using varying thicknesses and lengths for added interest.
5
Add gold accents.
- Apply metallic gold polish to specific areas of the design, or place gold foil on the wet polish for a textured look.
- Use the dotting tool to add small dots of light pink polish around other designs.
6
Embellish with gems.
- Use clear polish to adhere nail art gems where desired.
- Seal the gems carefully with a top coat to ensure durability.
7
Finish with top coat.
- Apply a generous layer of top coat to protect the design and enhance shine.
- Cure under a UV lamp if using gel polish, otherwise allow to dry naturally.
8
Clean up.
- Use acetone and a cotton pad to clean around the nail edges for a crisp finish.
- Make sure to hydrate cuticles with oil after the nails are completely dry.
Pro Tips
Take your time on each step to ensure precision and quality.
If you're new to nail art, practice the patterns on paper before applying to your nails.
Use a nail tape for straighter lines if you're struggling with the striping brush.
Always make sure each layer is dry before applying the next to avoid smudging.
Consider applying a matte top coat for a different, modern finish.