Design Details
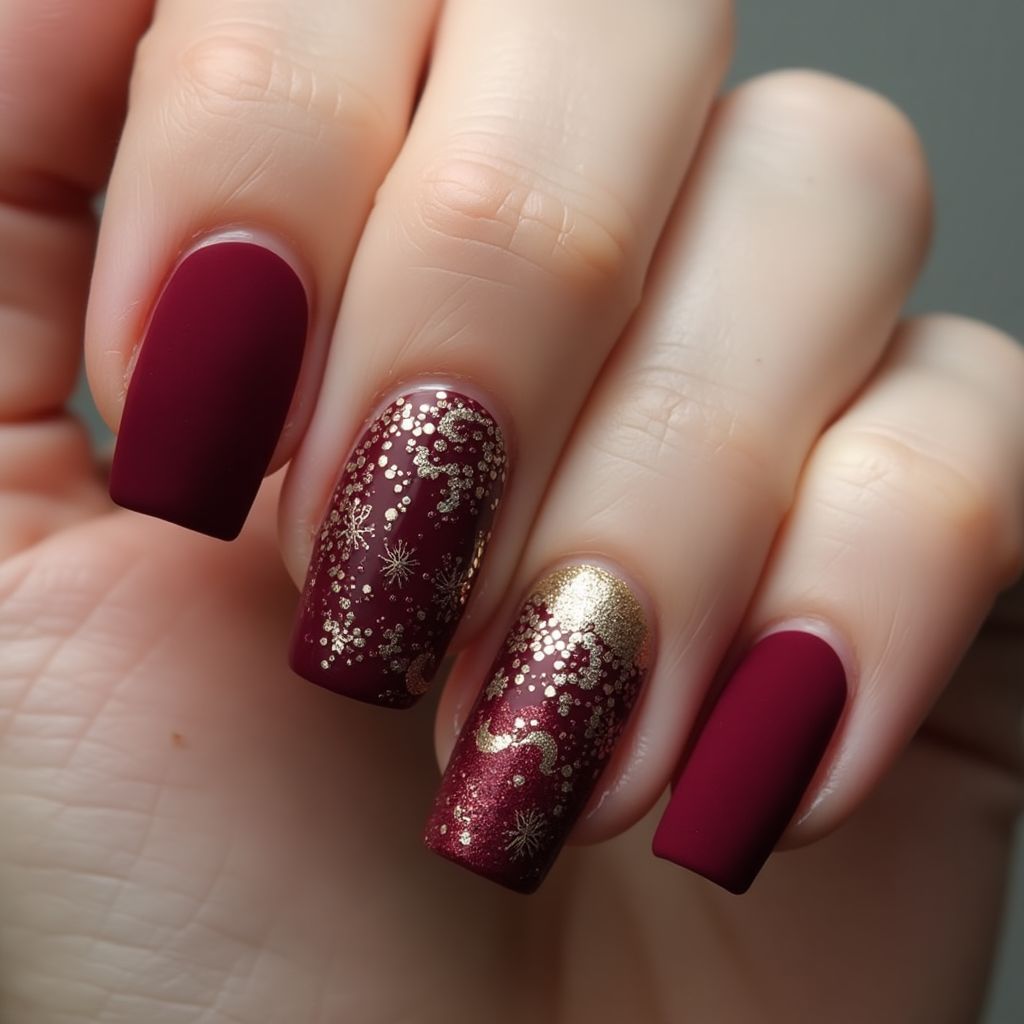
- 1This nail design features a rich burgundy matte base complemented by gold and sparkly designs on the accent nails.
- 2One nail showcases a bold gold glitter that adds a festive touch, while the other has intricate gold patterns resembling snowflakes and delicate filigree.
- 3The combination of matte and glossy finishes creates a sophisticated contrast, perfect for elegant occasions.
Items Needed for this Design
Nail Preparation
- Nail file
- Cuticle pusher
- Base coat
- Top coat
Nail Polish Colors
- Burgundy matte polish
- Gold glitter polish
- Clear nail polish (for sealing designs)
Nail Art Tools
- Nail art brush or dotting tool
- Stamper (if using stamping techniques)
- Sponge (for gradient effects)
Cleanup
- Nail polish remover
- Cotton pads
- Scotch tape (for clean edges)
Step by Step DIY(Do It Yourself) Guide
1
Prepare the nails.
- File and shape the nails to your desired length and style.
- Gently push back the cuticles using a cuticle pusher.
2
Apply base coat.
- Apply a thin layer of base coat to all nails.
- Allow the base coat to dry completely.
3
Paint the base color.
- Apply two coats of burgundy matte polish to all nails, allowing each coat to dry.
- Use the sponge technique if you desire a gradient look on the accent nails.
4
Add the gold design.
- Using a nail art brush or dotting tool, apply gold glitter polish to the designated accent nails.
- Create snowflake patterns or filigree designs with precise strokes.
5
Seal the design.
- Apply a top coat over the matte nails to protect them and enhance longevity.
- Use clear nail polish to seal in the glitter and designs.
6
Cleanup.
- Dab a cotton pad with nail polish remover and tidy up any excess polish around the nails.
- Remove any tape used for clean edges.
Pro Tips
Ensure your base color is completely dry before adding designs to avoid smudging.
Experiment with different designs using the same colors for a personalized touch.
Use a thin brush for detailed designs to achieve precision and elegance.