Design Details
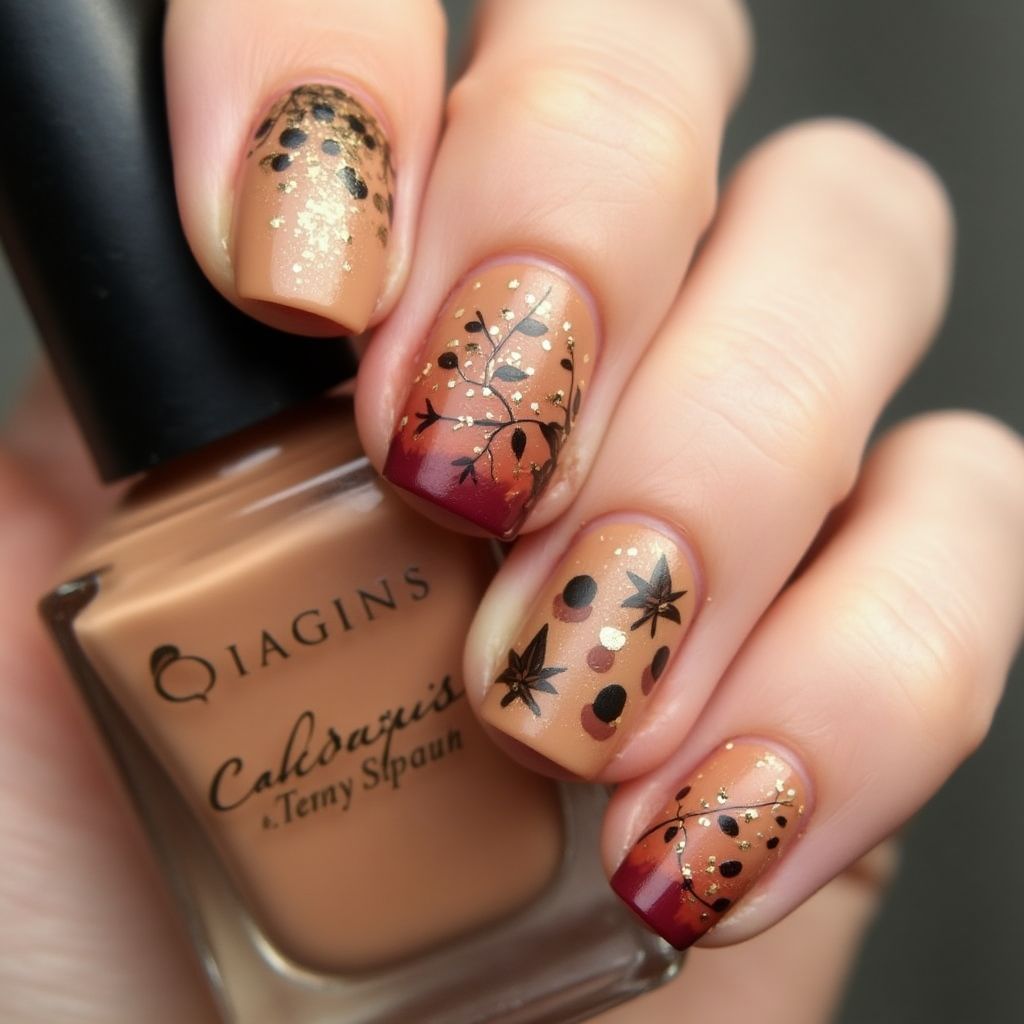
- 1This nail design features a gradient fade from a rich red to a natural beige base, creating a warm and inviting look.
- 2Delicate black floral patterns are applied on some nails, adding an artistic touch.
- 3Gold glitter accents are incorporated for a sparkly, festive appeal.
- 4The combination of styles and colors makes this design perfect for autumn or holiday seasons.
Items Needed for this Design
Nail Preparation
- Nail file
- Nail buffer
- Base coat
- Top coat
Nail Polish Colors
- Beige polish
- Red polish
- Black polish
- Gold glitter polish
Nail Art Tools
- Detailing brush
- Dotting tool
- Sponge for gradient application
Cleanup
- Acetone or nail polish remover
- Cotton pads
- Small brush for cleanup
Step by Step DIY(Do It Yourself) Guide
1
Prepare the nails
- File and buff the nails to create a smooth surface.
- Apply a base coat to protect the natural nail.
2
Apply the base color
- Paint all nails with a beige polish and let dry completely.
3
Create the gradient effect
- On a makeup sponge, apply the beige and red polish next to each other.
- Dab the sponge onto the nail tip to transfer the colors, blending them together.
- Repeat until the desired gradient intensity is achieved and let dry.
4
Add nail art details
- Using a detailing brush, paint floral patterns with black polish on selected nails.
- Use a dotting tool to create polka dots on other nails.
5
Apply glitter
- Brush gold glitter polish over the black designs and tips to add sparkle.
- Allow everything to dry completely.
6
Finish with a top coat
- Apply a top coat to seal the design and add shine.
- Clean up around the nails with acetone and a brush as necessary.
Pro Tips
Always use a base coat to protect your natural nails.
Experiment with different color combinations for a unique look.
Be patient when applying the gradient; multiple layers may be needed for best results.
Cleanup is essential for a polished finish, so don't skip this step.
Allow ample drying time between layers to avoid smudging.