Design Details
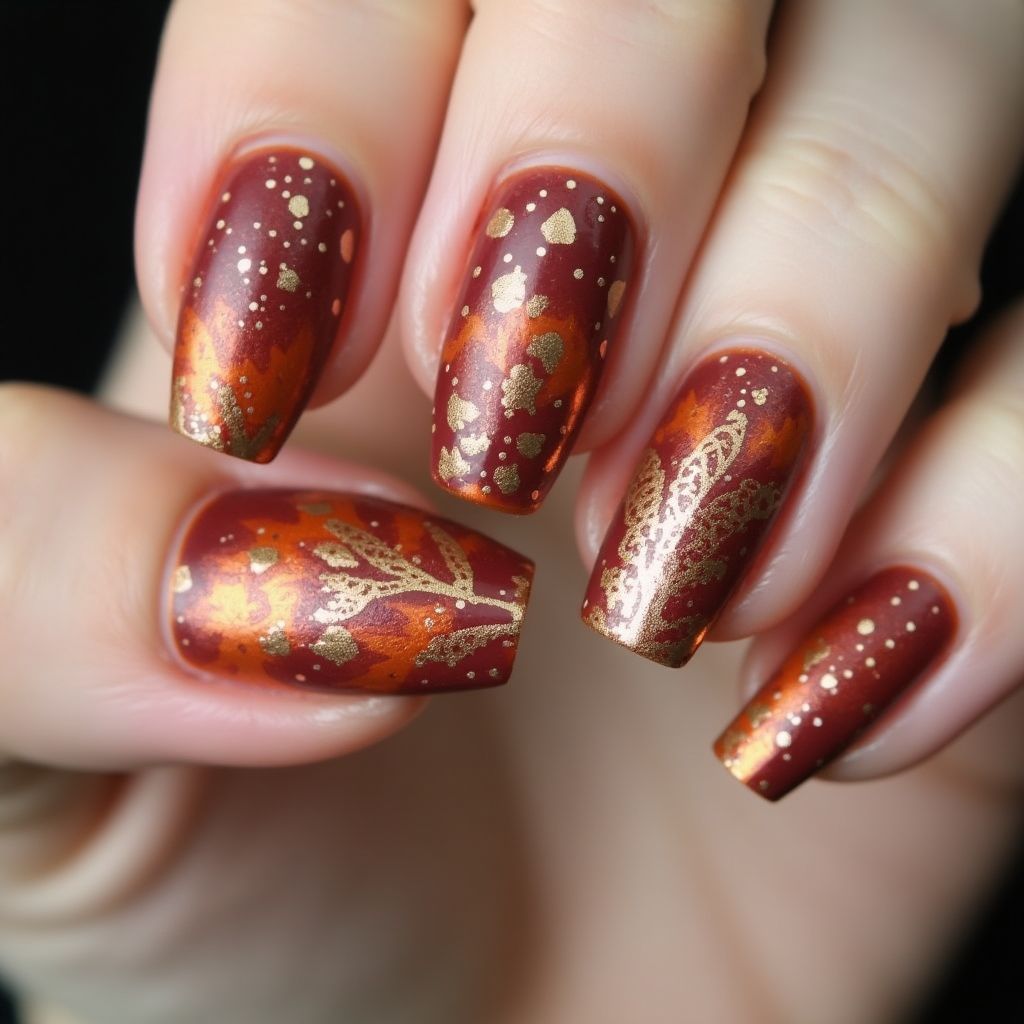
- 1This nail design features a rich, warm color palette of deep reds and oranges, evoking a cozy autumn vibe.
- 2Gold embellishments are added with varying patterns including hearts and leaves, enhancing the luxurious feel.
- 3A matte finish is contrasted with shiny metallic accents, creating visual interest and texture.
- 4The design is suitable for various occasions, from everyday wear to special events, and it is achievable for both beginners and experienced nail artists.
Items Needed for this Design
Nail Preparation
- Nail file
- Base coat
- Top coat
Nail Polish Colors
- Deep red nail polish
- Burnt orange nail polish
- Gold nail polish
Nail Art Tools
- Dotting tool
- Striping brush or nail art brush
- Stamper (for patterns)
Cleanup
- Nail polish remover
- Cotton pads or swabs
Step by Step DIY(Do It Yourself) Guide
1
Prepare your nails.
- File and shape your nails to the desired length.
- Push back your cuticles and remove any excess skin.
- Apply a base coat to protect your nails.
2
Apply base colors.
- Paint the entire nail with deep red nail polish and let it dry completely.
- Use a makeup sponge to apply burnt orange nail polish at the tips for an ombre effect.
3
Create designs with gold polish.
- Using the striping brush, carefully paint leaf motifs on 2-3 nails.
- Using a dotting tool, add hearts and dots in gold on the remaining nails.
4
Finish the design.
- Once all designs are dry, apply a matte top coat to all nails for a cohesive look.
- Clean up any excess polish around the nails with cotton pads dipped in nail polish remover.
Pro Tips
Make sure to let each layer dry completely to prevent smudging.
Experiment with different patterns and placements for a unique look.
If you're new to nail art, practice your designs on a piece of paper before applying them to your nails.
Use a small amount of polish on your tools to avoid excess and maintain precision.