3d Nail Decor Freehand Art Nail Design
Whimsical 3D Floral Art: Embrace Pastel Hues and Iridescent Accents for a Bohemian Touch
Design Details
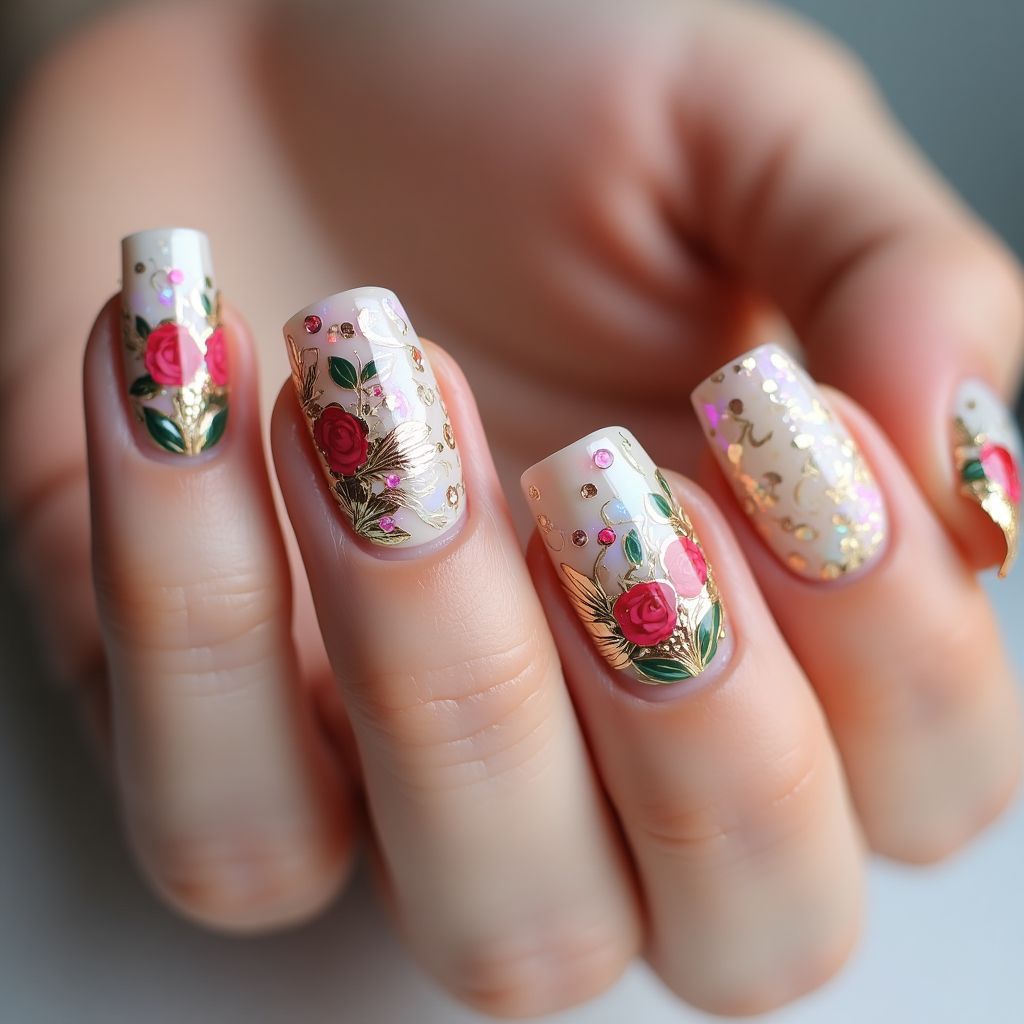
- 1The nail design features a soft white base with intricate floral detailing in shades of pink.
- 2Gold foil accents and small embellishments add elegance and texture to the overall look.
- 3Each nail showcases a unique arrangement of roses, leaves, and shimmering elements that create a cohesive yet diverse design.
Items Needed for this Design
Nail Preparation
- Nail file
- Nail buffer
- Base coat
- Top coat
Nail Polish Colors
- White nail polish
- Pink nail polish
- Green nail polish
- Gold foil or gold nail polish
Nail Art Tools
- Detailing brush
- Dotting tool
- Tweezers (for applying embellishments)
- Nail art foil or transfer gel
Cleanup
- Acetone or nail polish remover
- Cotton pads
- Cuticle oil
Step by Step DIY(Do It Yourself) Guide
1
Prepare your nails.
- Trim and file your nails to your desired shape.
- Buff the surface of your nails for smoothness.
- Apply a base coat to protect your natural nails.
2
Apply the base color.
- Using the white nail polish, apply one to two coats for an even coverage.
- Allow the base color to dry completely before moving to nail art.
3
Create floral designs.
- Using the detailing brush and pink nail polish, paint small rose shapes on the nails.
- Add green leaves around the roses using the green nail polish.
- Apply gold foil accents using a transfer gel or simply placing pieces directly onto the wet nail polish.
4
Add embellishments.
- Use the dotting tool to apply small dots of pink or gold embellishments on the nails.
- Carefully place each embellishment with tweezers for precision.
5
Finish with a top coat.
- Once all designs are dry, apply a top coat to seal everything in.
- Allow it to dry completely to ensure durability.
Pro Tips
Take your time with the floral details to achieve a polished look.
Use a light hand when applying the gold foil to avoid overwhelming the design.
Experiment with placement and design variations on each nail for a unique look.
Keep a clean-up brush handy for precise corrections while working on the design.